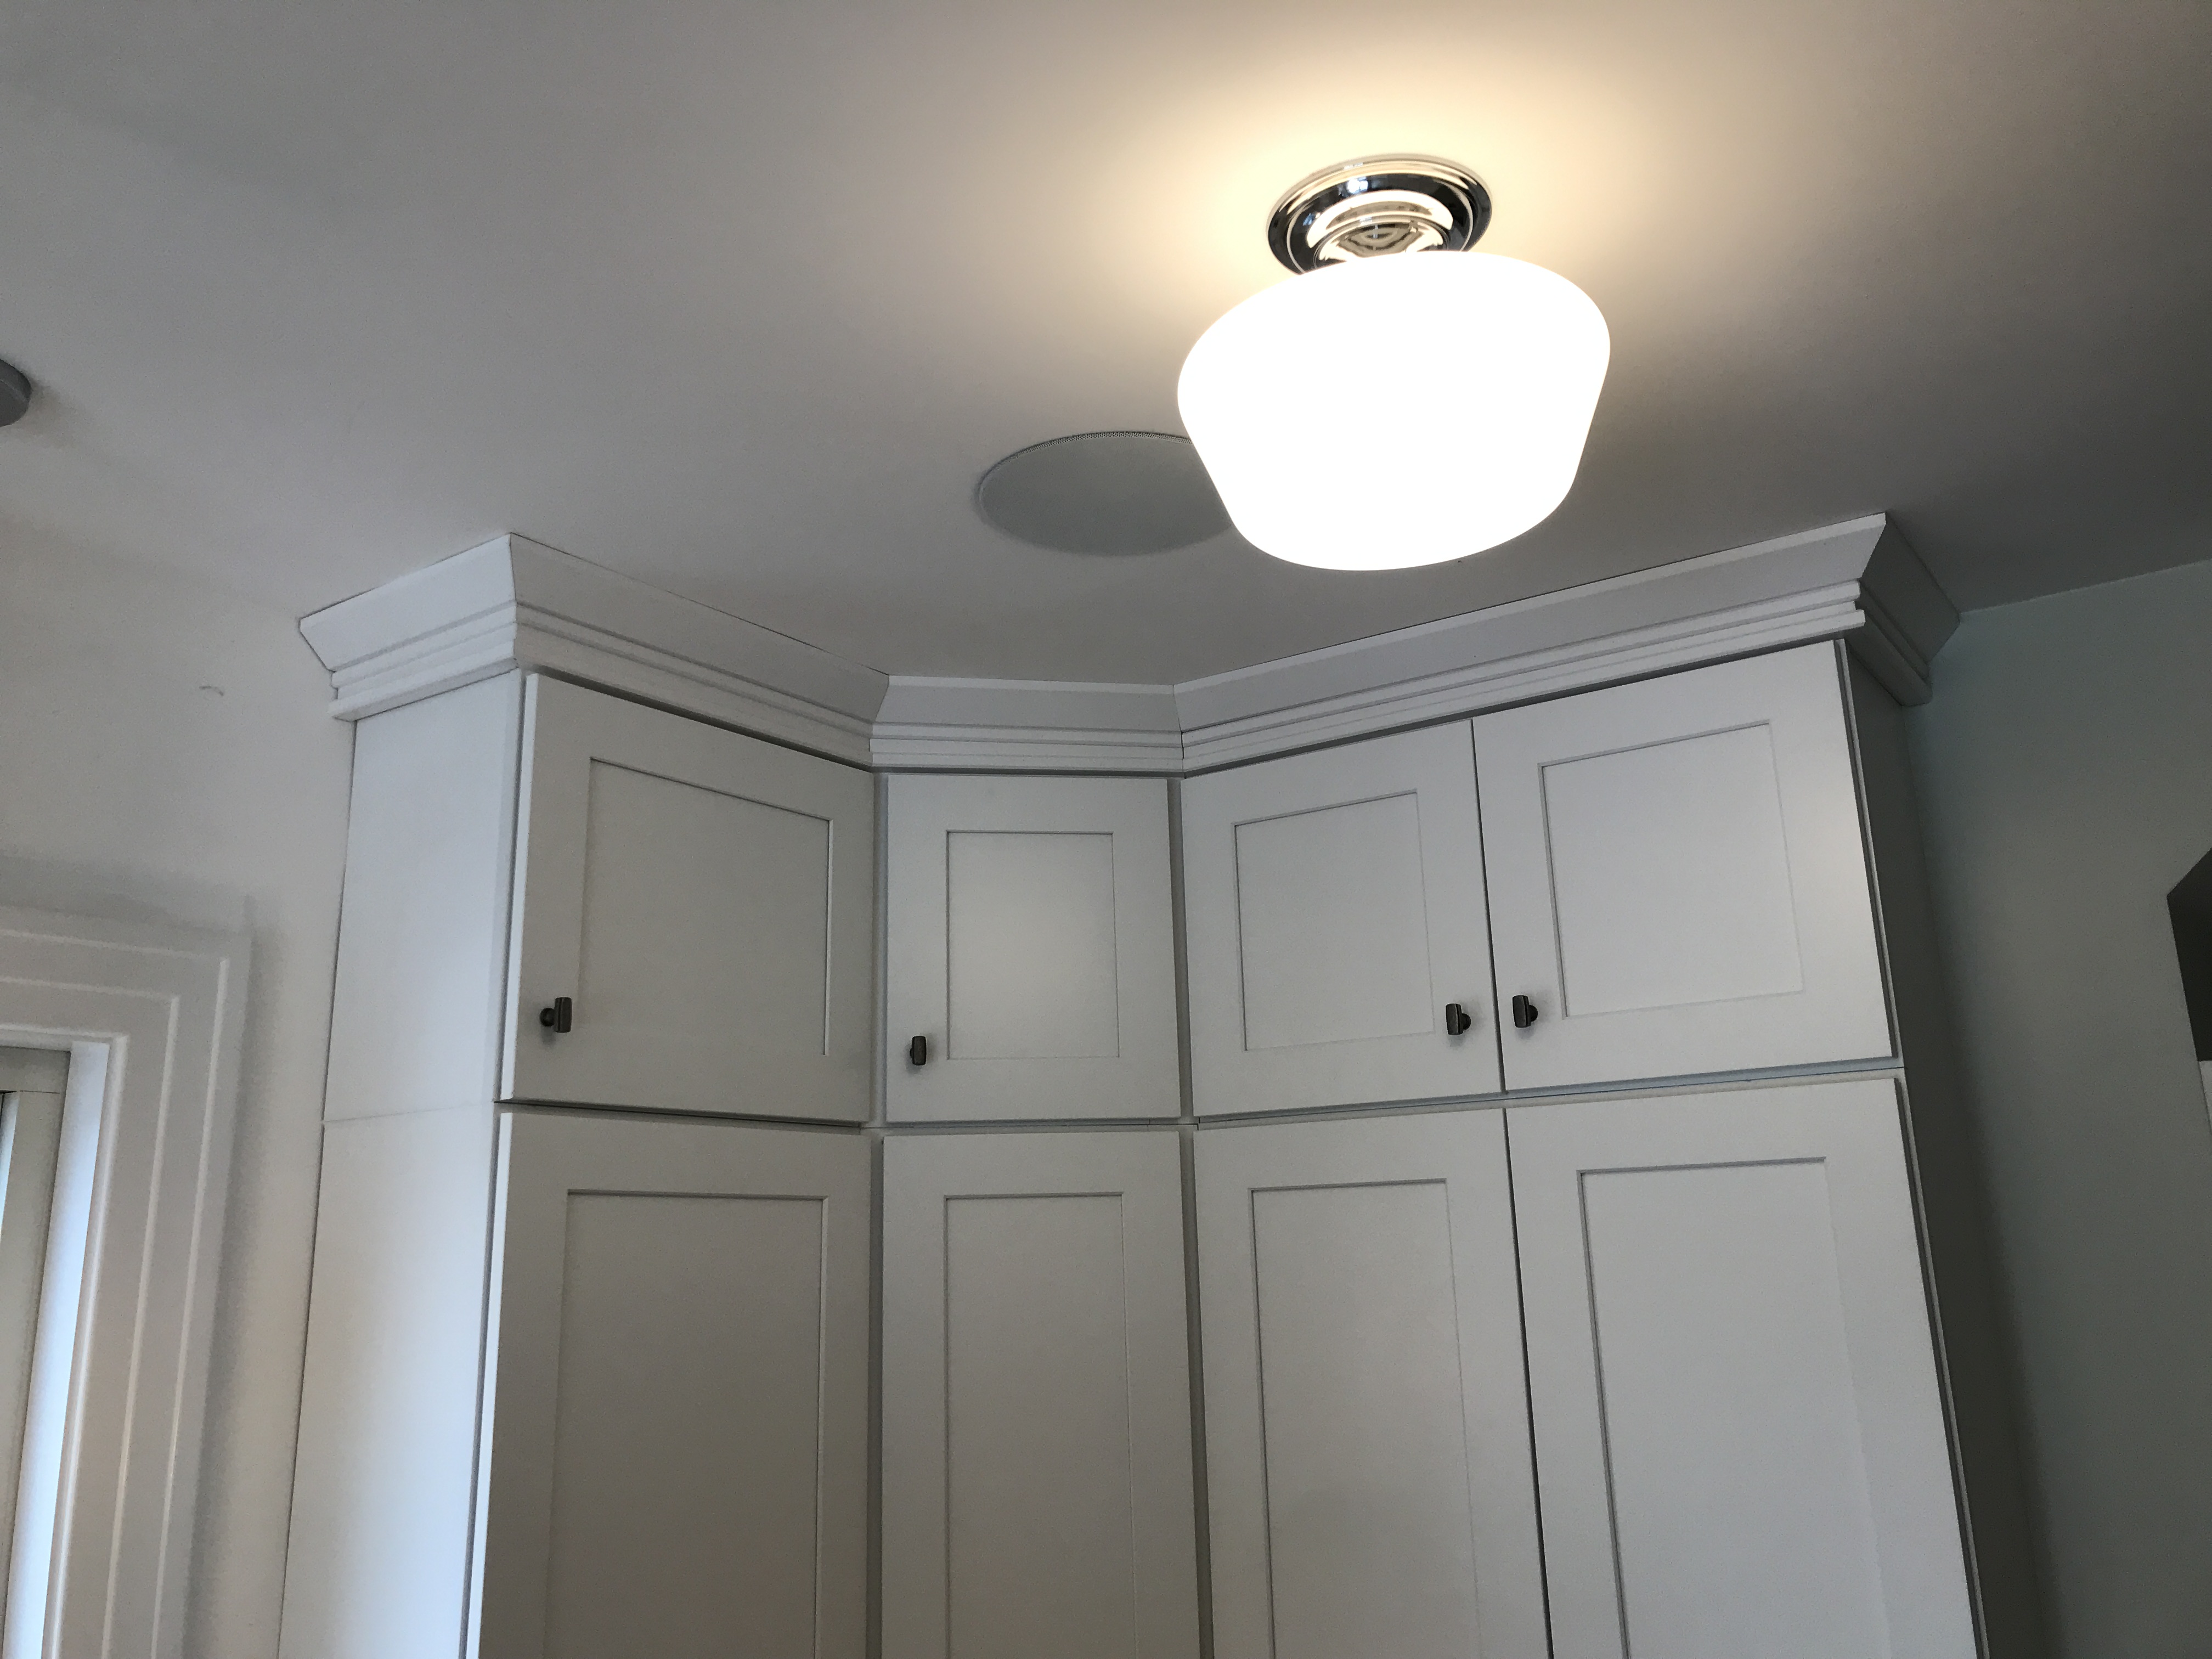
For this kitchen design chose tall cabinets and a custom crown molding stack. We wanted to take advantage of the nine foot ceilings, which were previously lowered by sixteen inches. This allowed for increased storage, and a built in look.
The crown molding “stack” was a kit purchased with the cabinets. The kit came with a rough 1×2 as a backer/nailing strip to attach it, but they were extremely warped and low grade wood.
I made up a little test block to familiarize myself with the assembly and make a few decisions on placement and attachment.

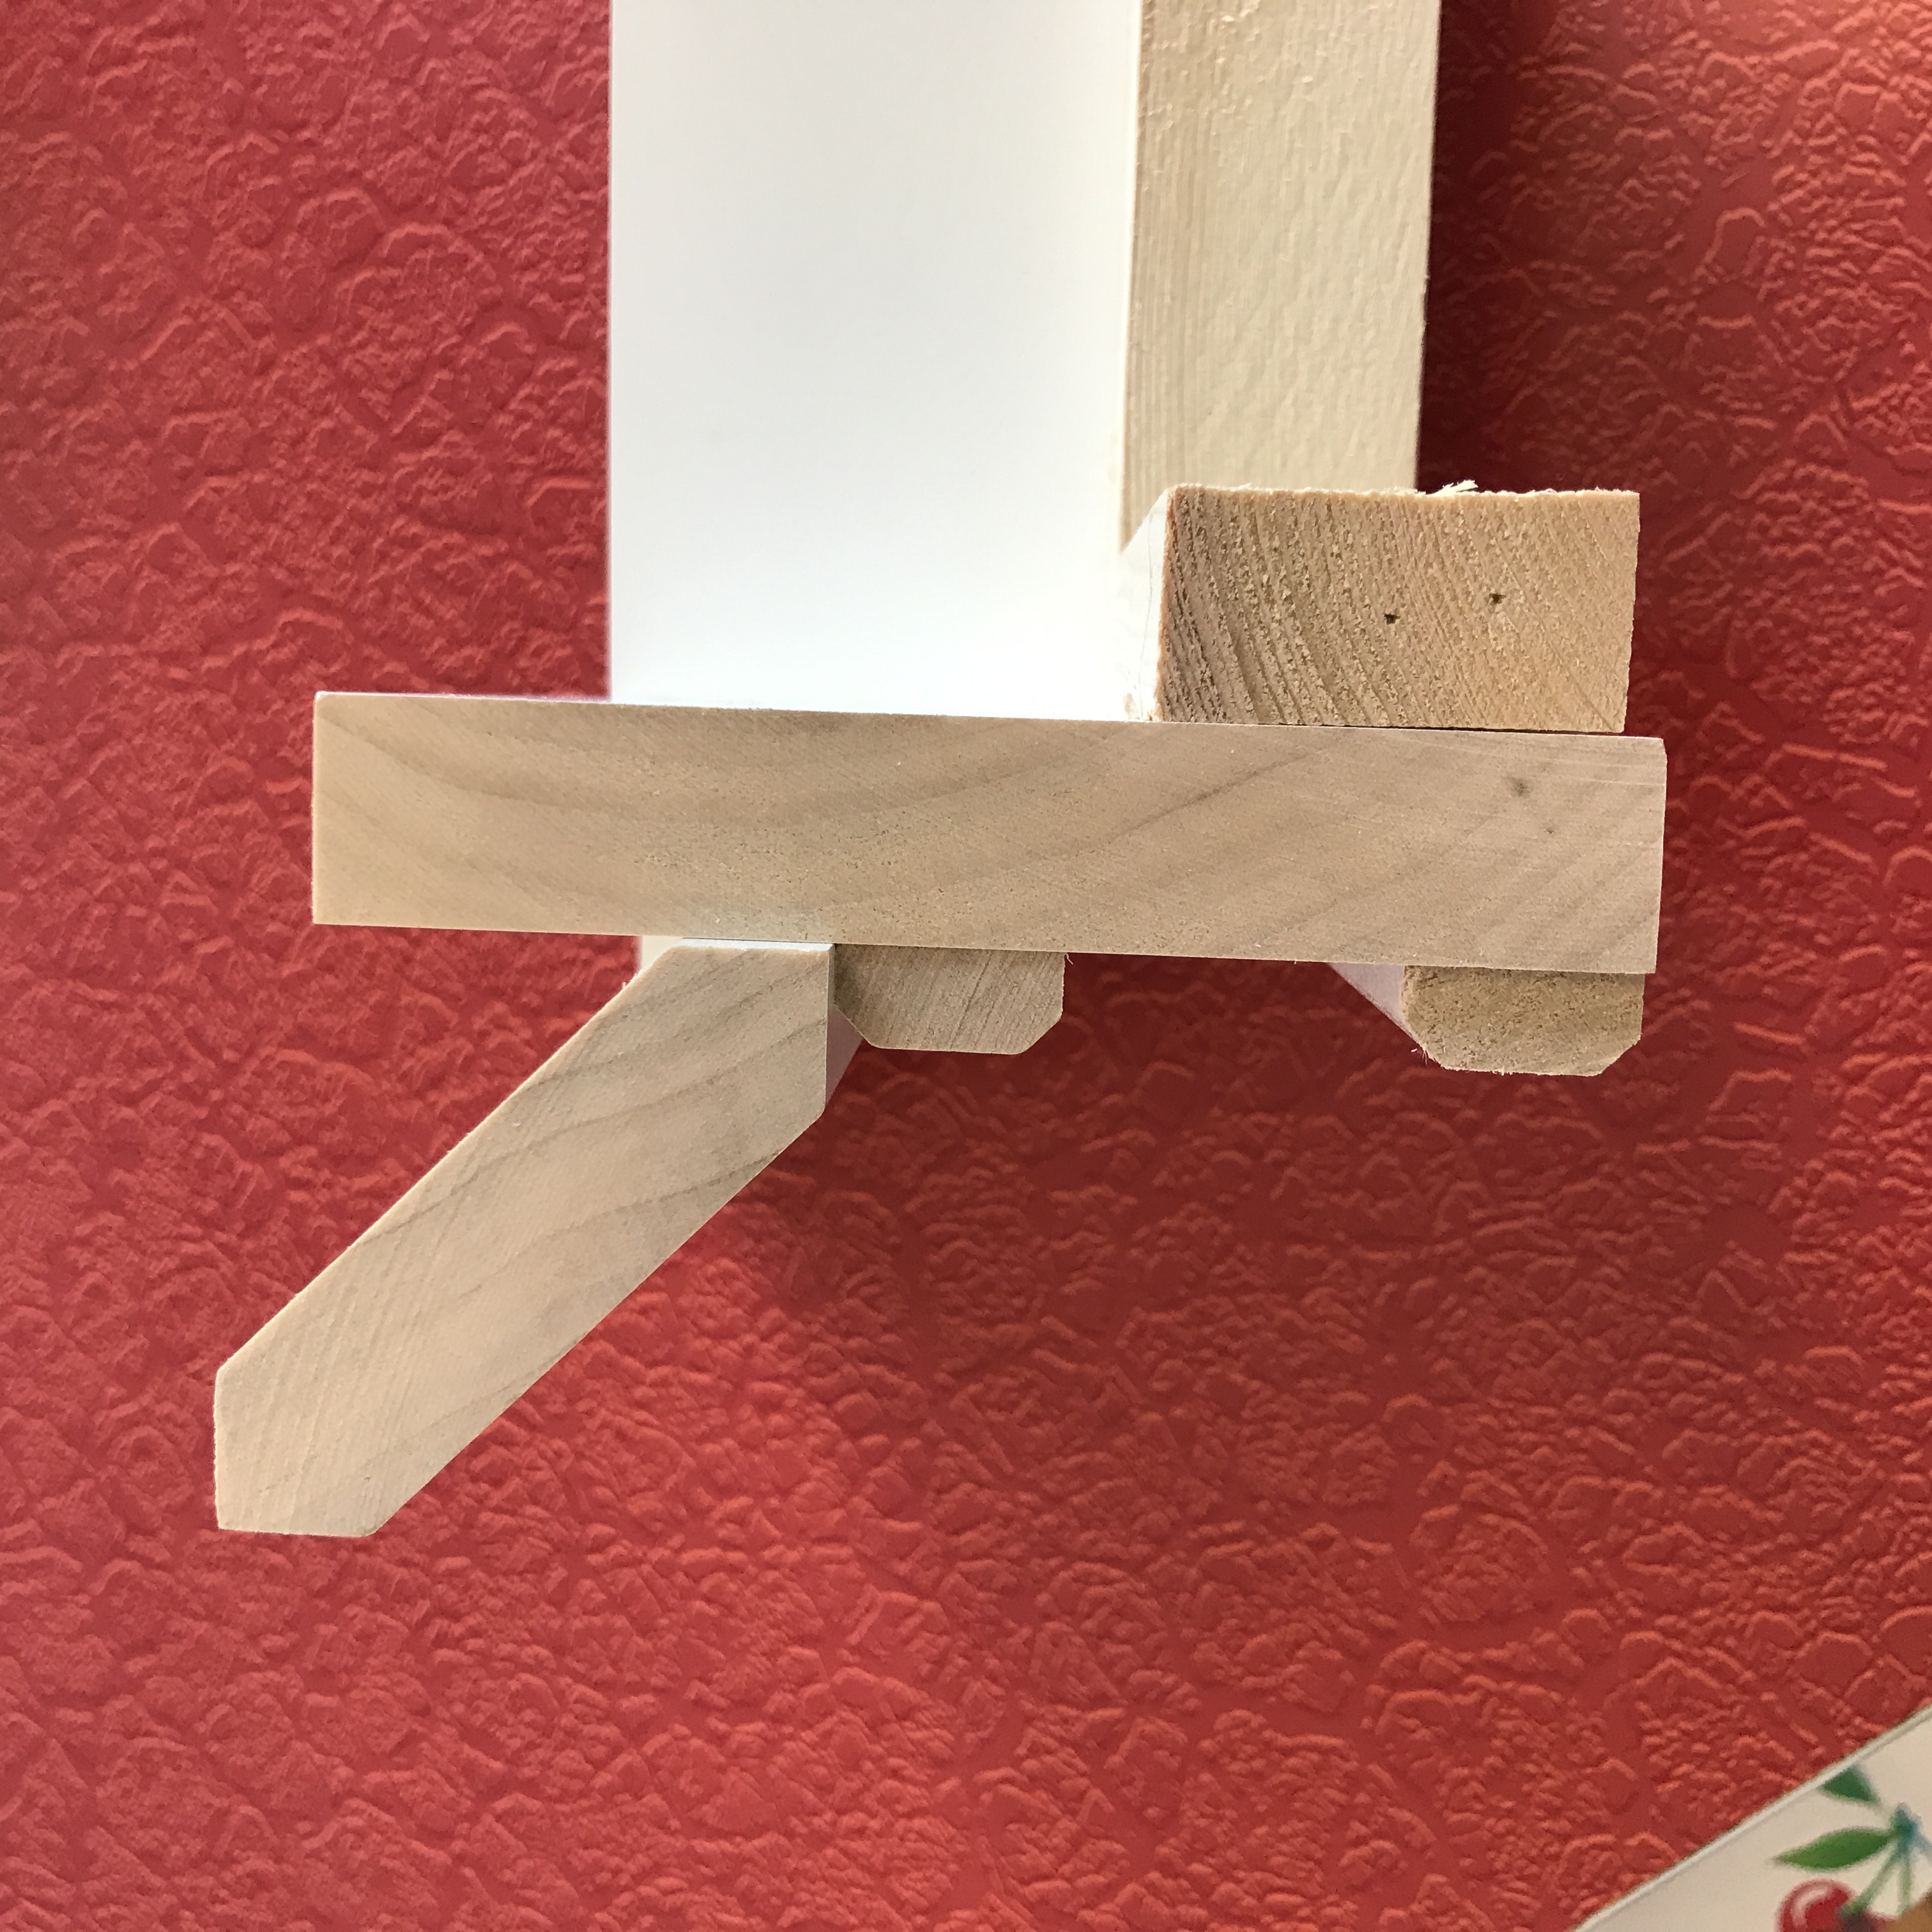
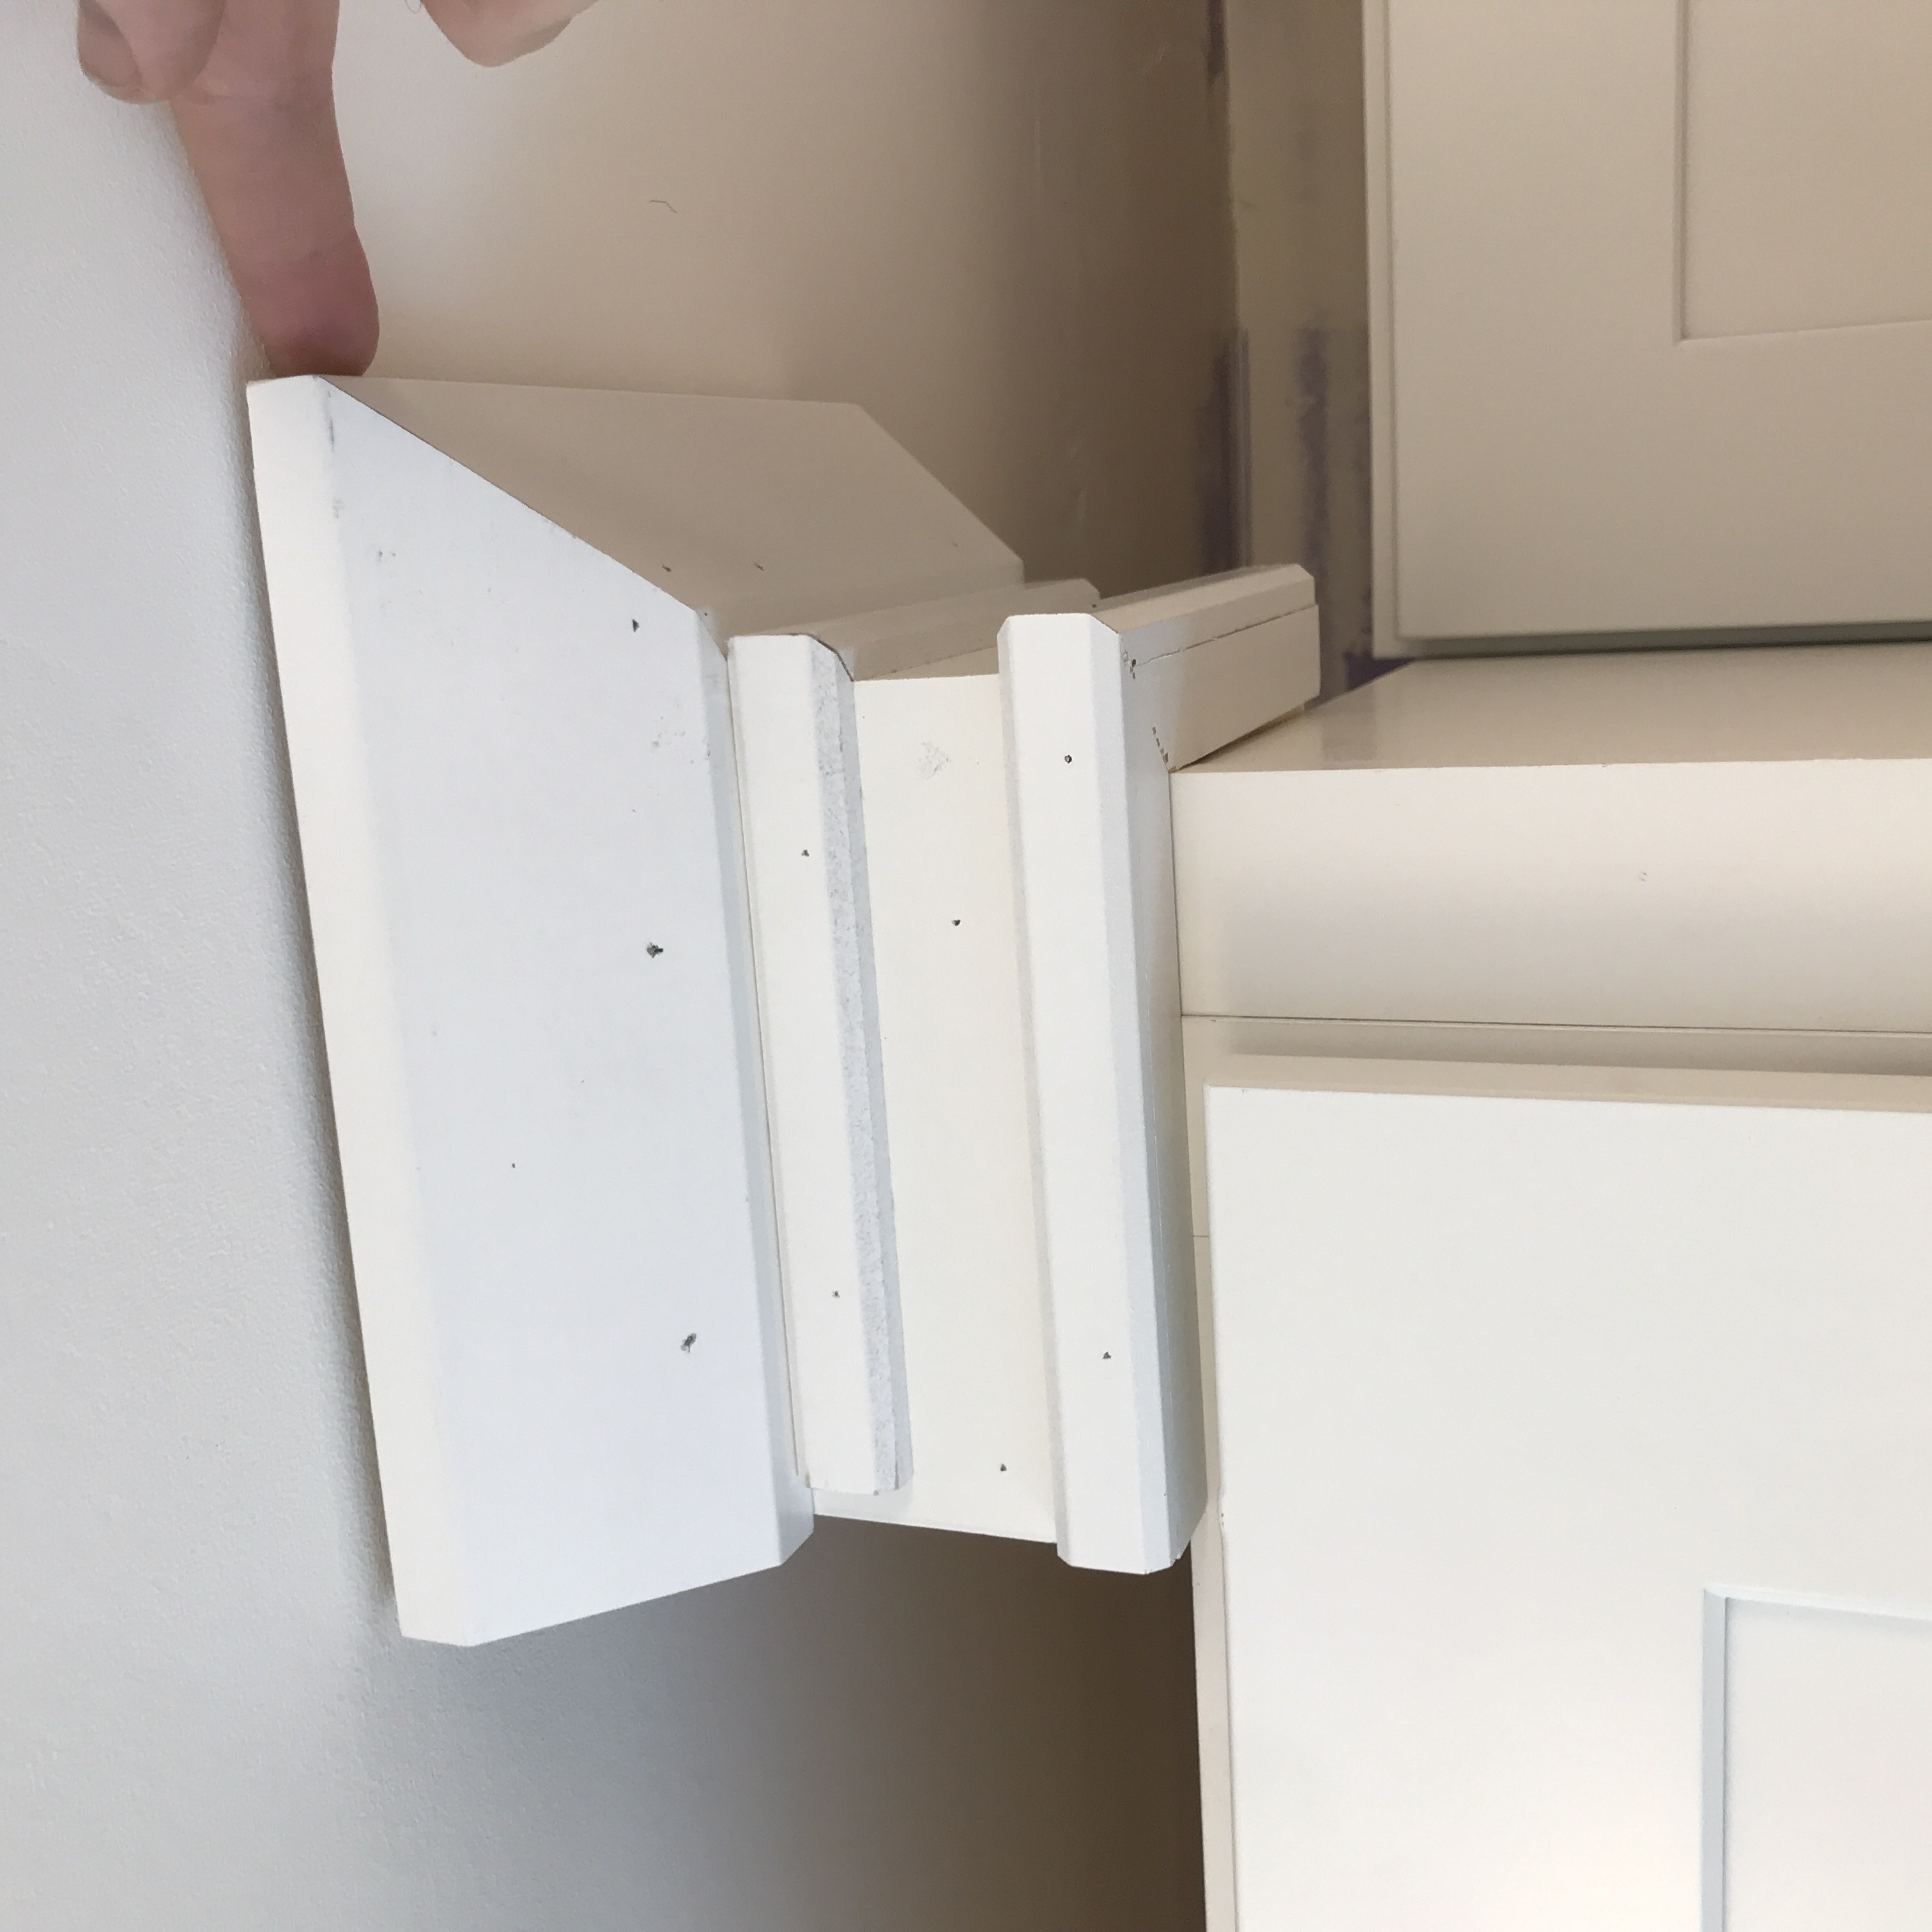

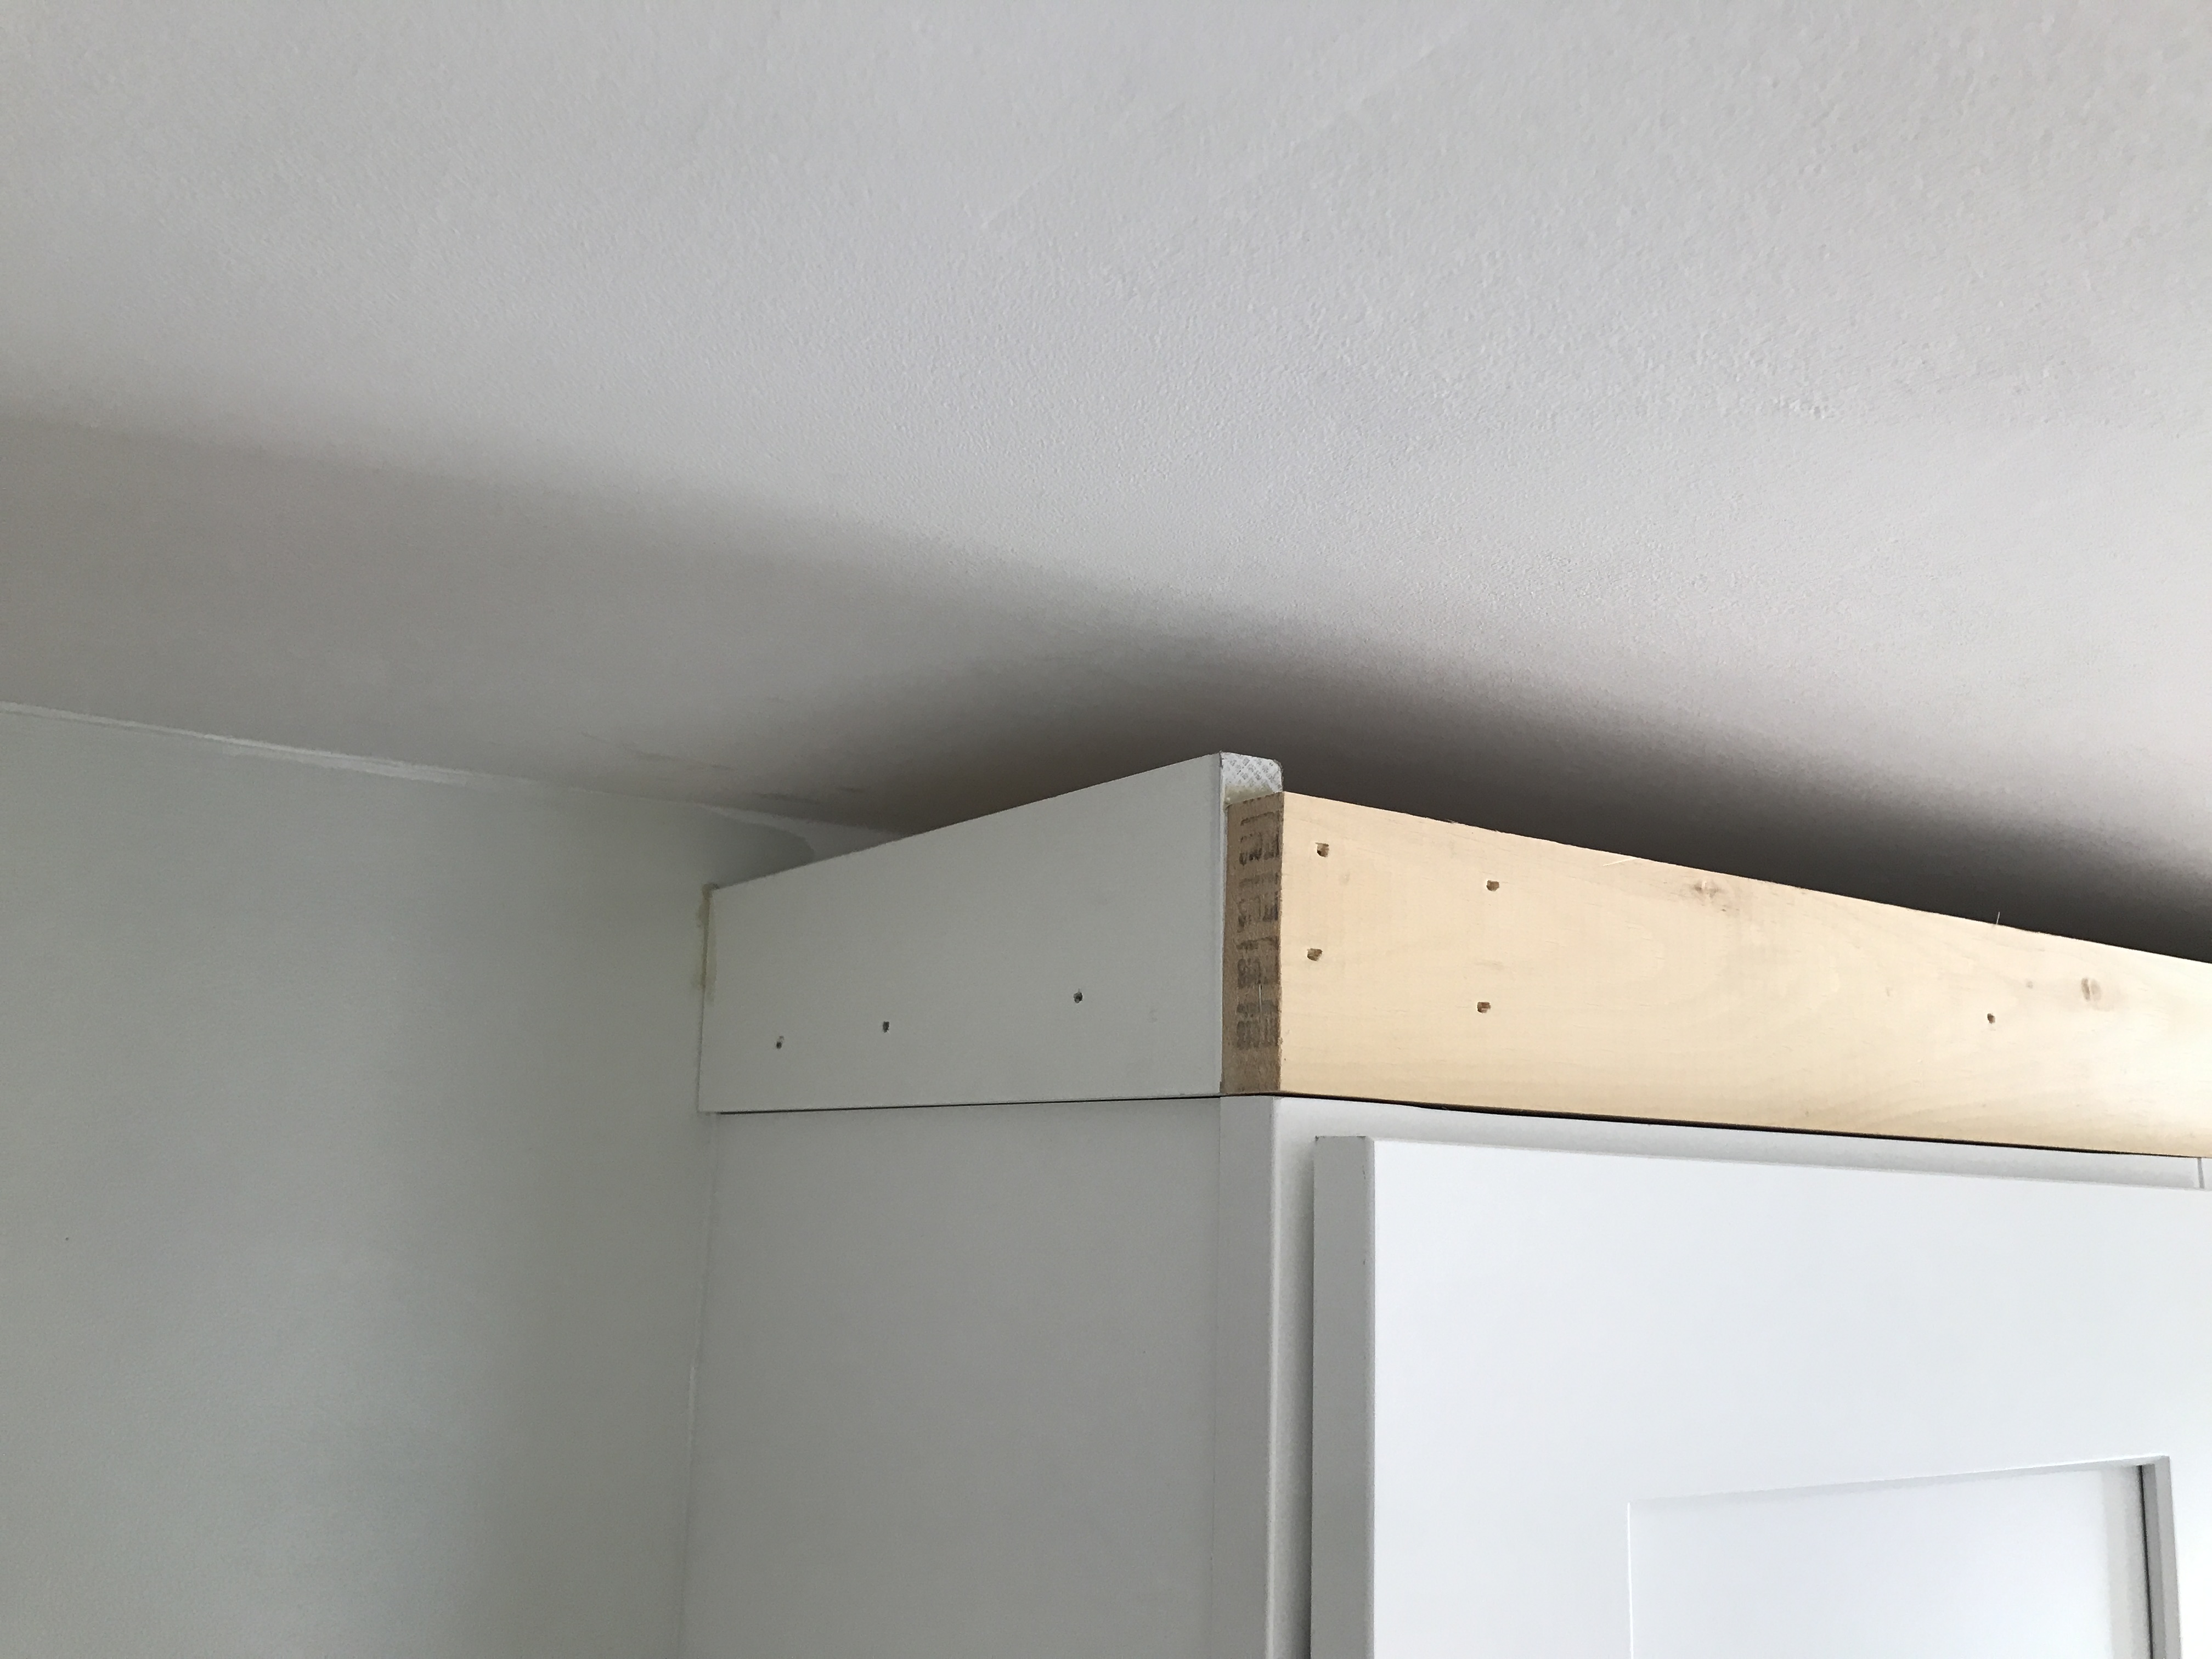
The first step in the buildup provides a point of attachment to the cabinet and won’t be seen. I ended up buying 1×4 pine to replace the supplied 1×2 and got better lumber since I only needed a few boards. The next vertical piece that I installed will show. Those came in 1×6 painted hardwood that had to be ripped down on a table saw to approximately the distance from the cabinet to the ceiling with a little room to spare that will get hidden by the angled crown.
The corner cabinets required some very tricky miter cuts. After dry fitting, I glued them and nailed them together.
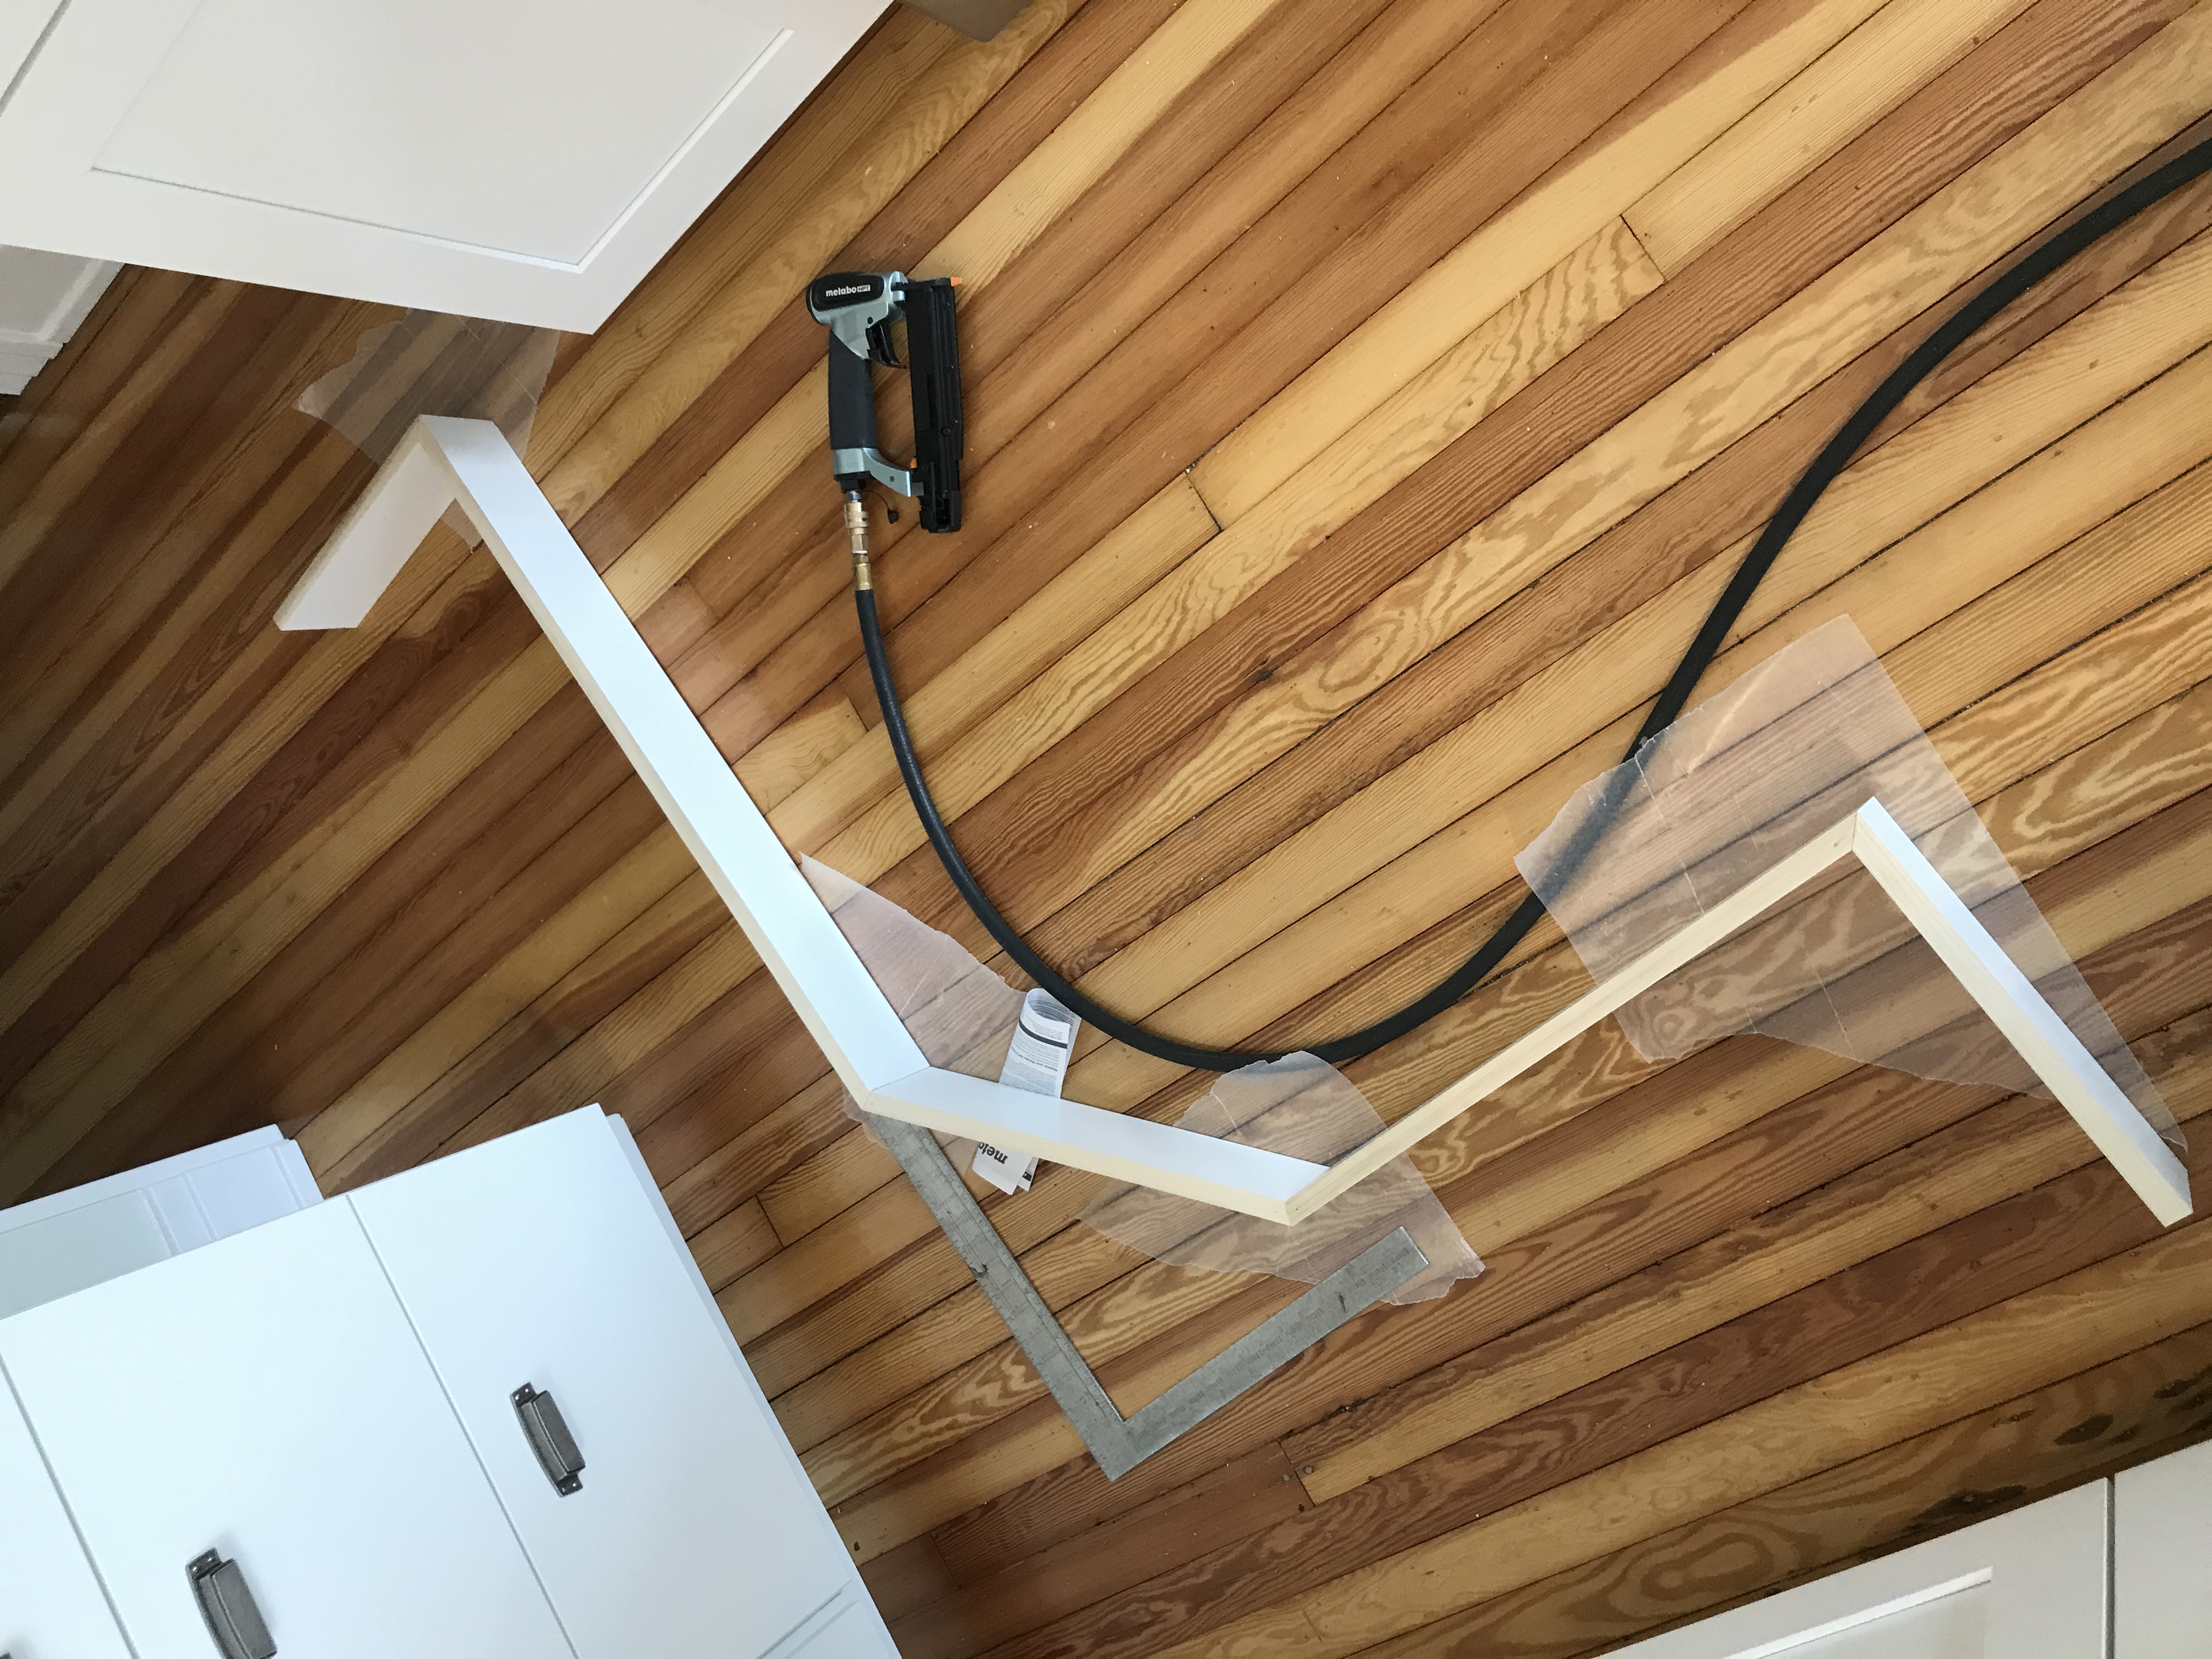

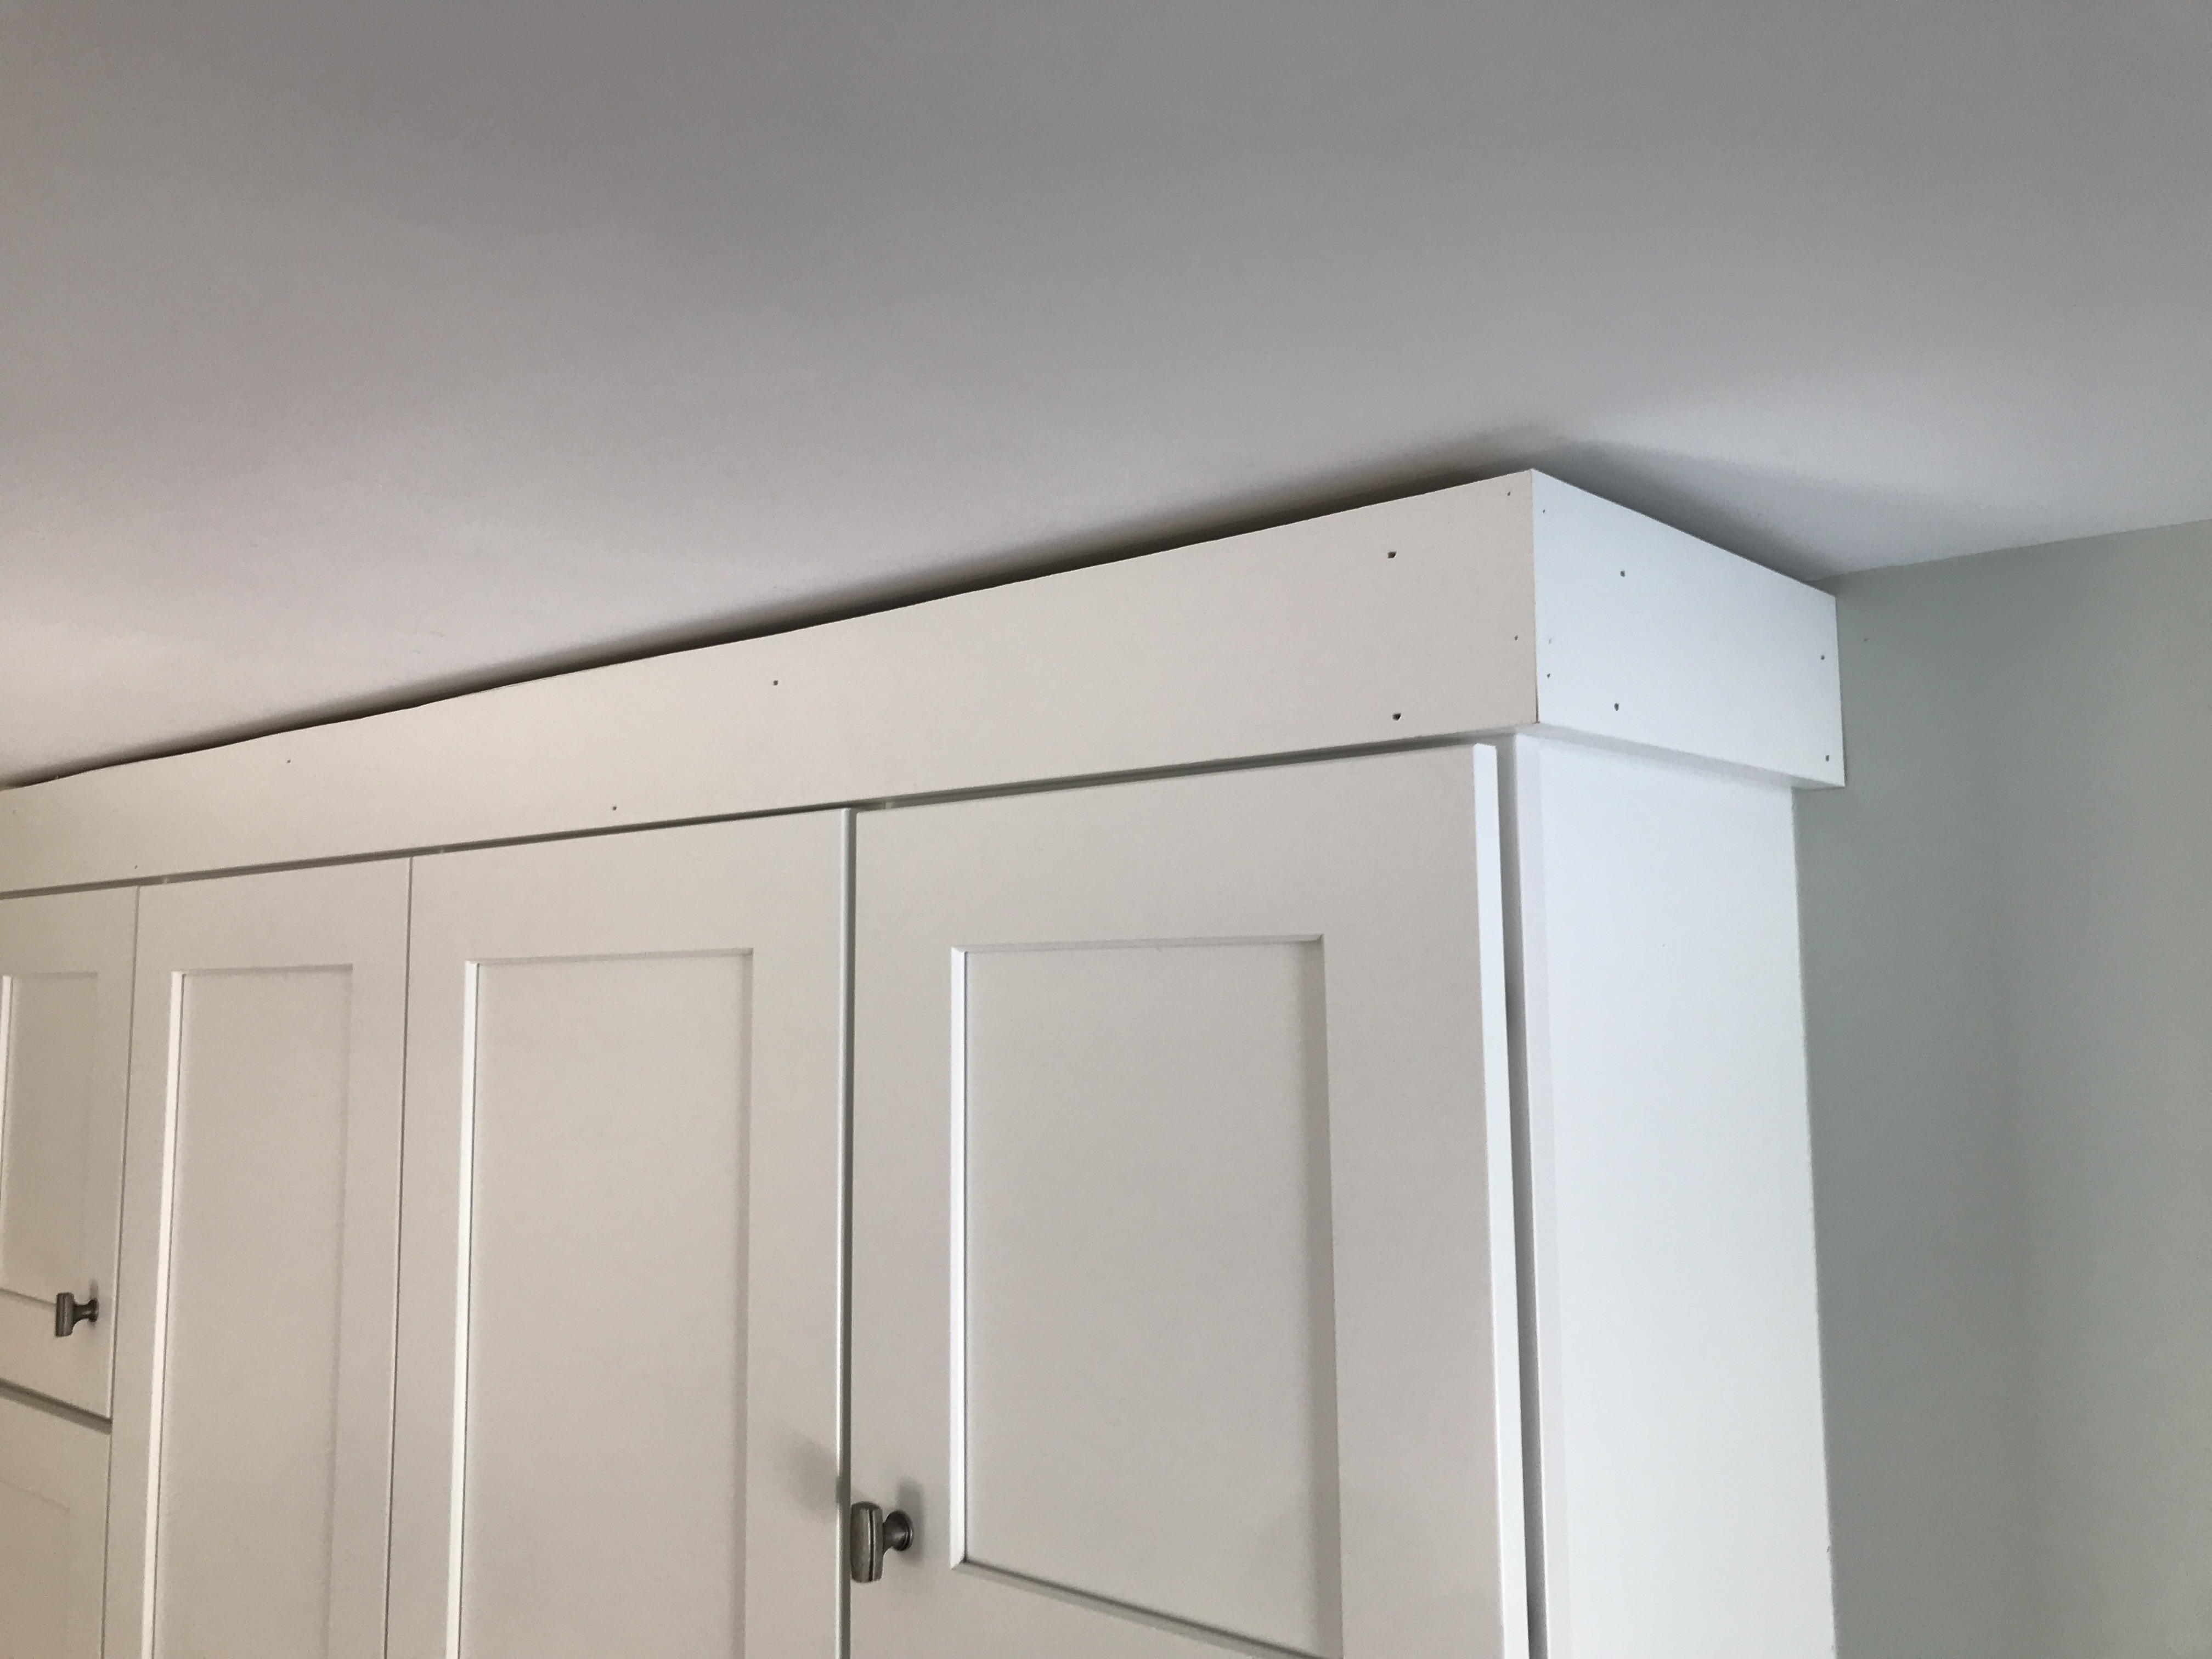
For the angled crown molding I cut the miters by placing it against the fence of my chop saw as it would be installed up against the ceiling. This makes some of the math easier, but I still had to flip things around for certain cuts and honestly my brain hurts just thinking about it. Luckily I ordered enough material to account for a few mistakes. I used my 15 gauge brad nailer for the bigger stuff. The two strips of smaller decorative bead molding were installed later with a 23 gauge pin nailer.
Since this will be white on white I am going to rely on painters caulk, but I did try to minimize the gaps. I’m pretty happy with how it turned out.
Leave a Reply