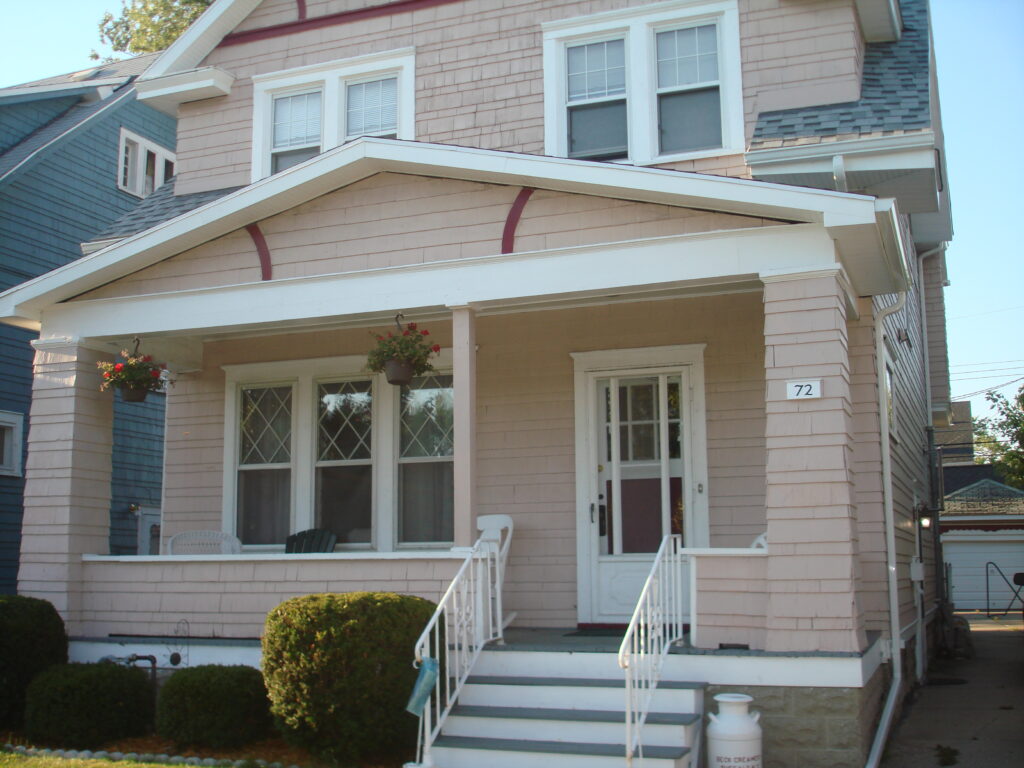
Design
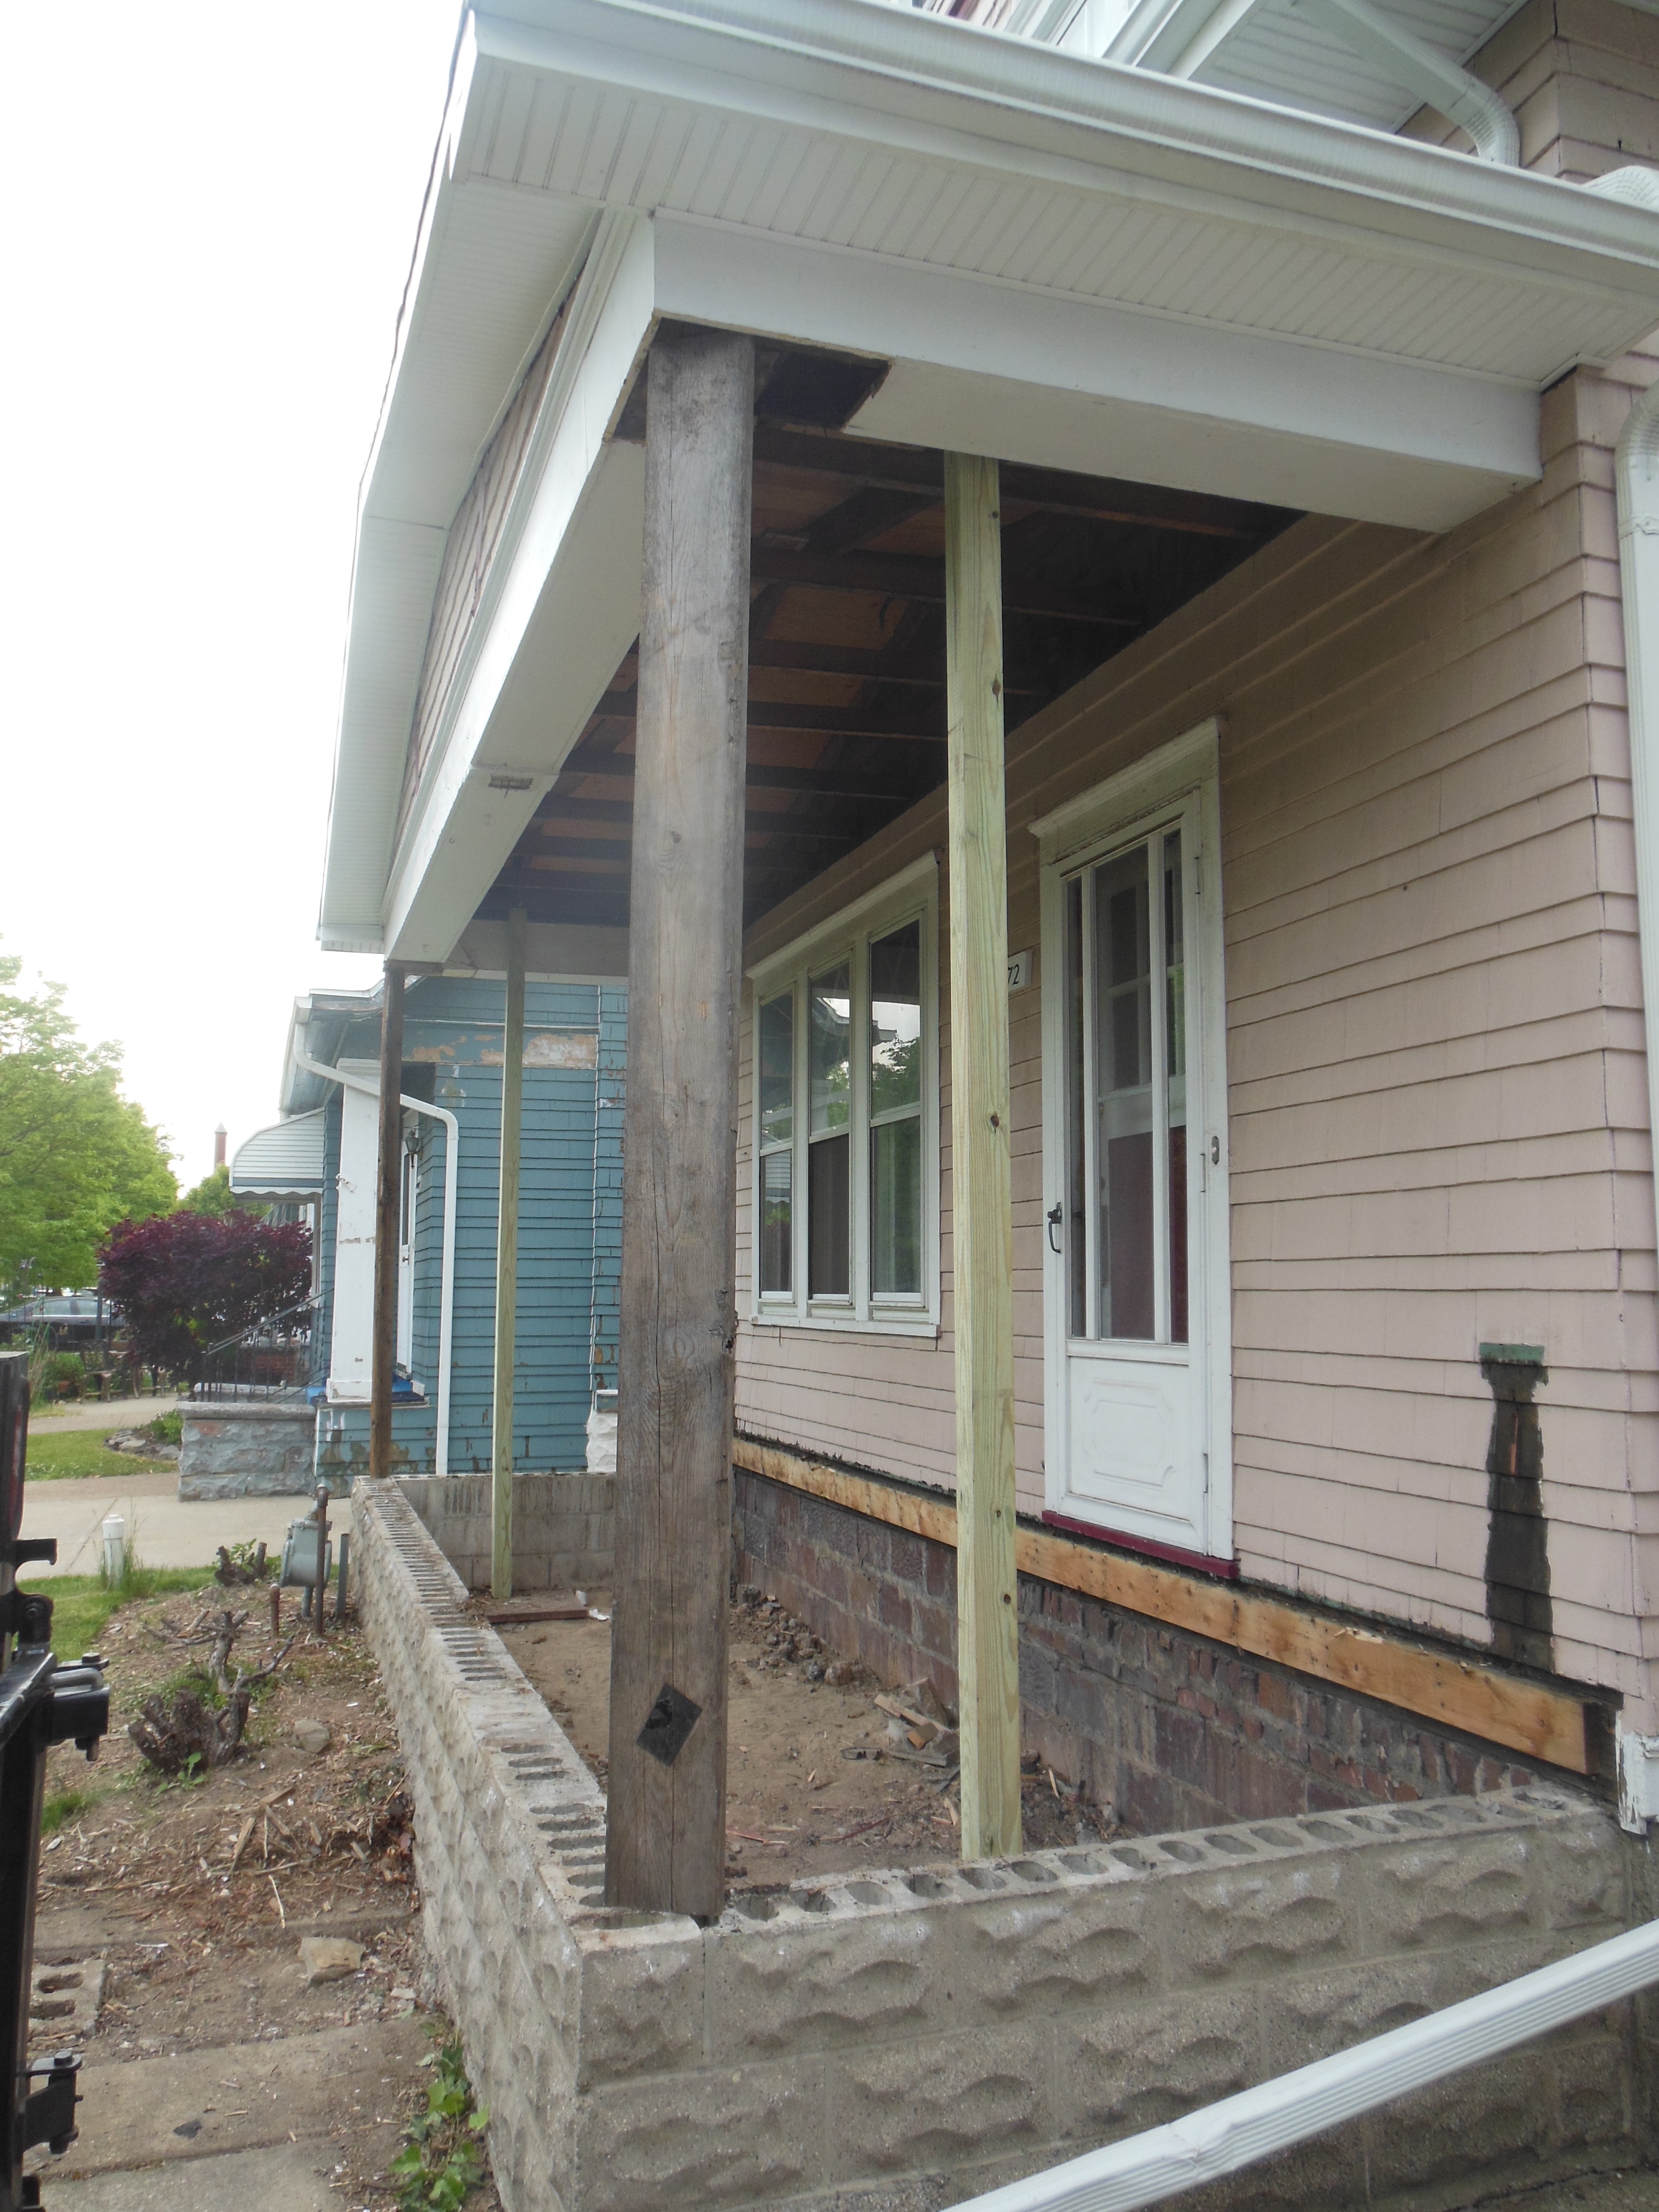
This project started because the porch floor was rotting in a number of places, and had holes in it. The floor had been replaced at least once before, so it wasn’t original. The stairs were also newer and I didn’t love the iron railings. It would have been possible to replace the floor, keeping the original columns and railings. However, there was also a pretty bad leak in the overhang of the roof, and the damage appeared to spread into at least one of the columns.
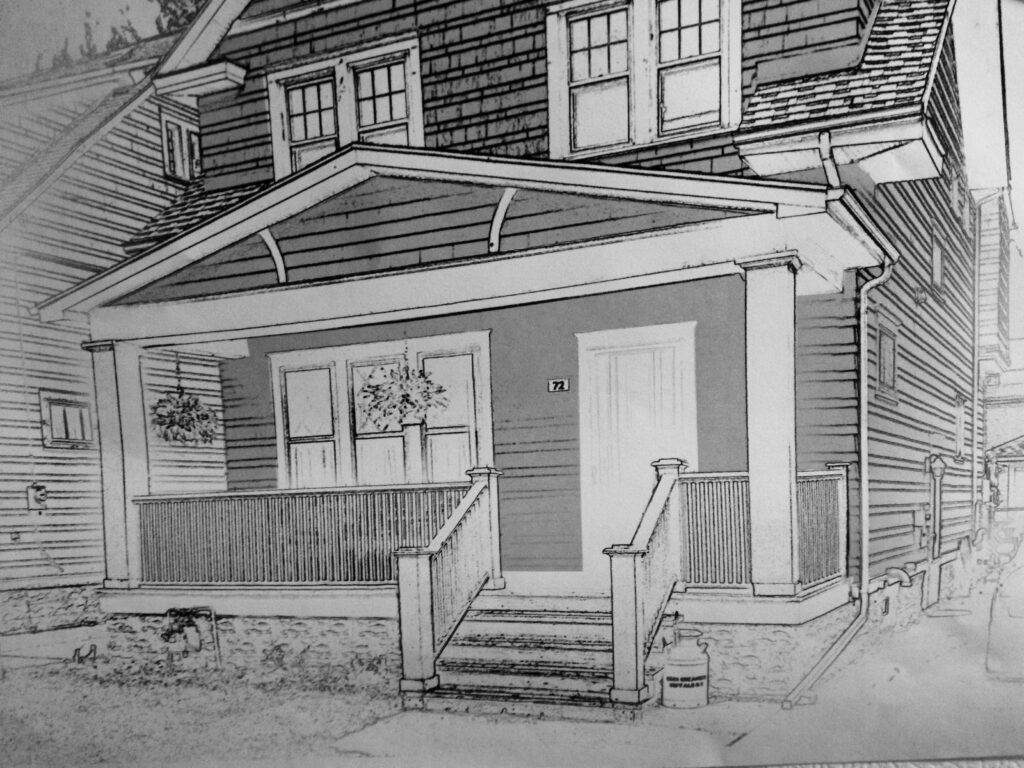
I wanted to keep it looking like a traditional front porch, but would use some modern deck building methods. I spent a lot of time looking at nearby houses, collecting photos. I used PhotoShop to swap in the columns and railings from a house around the block. Specific details changed a little with some borrowed elements from other houses, the limits of my skill set, and timeline considerations for the greater project.
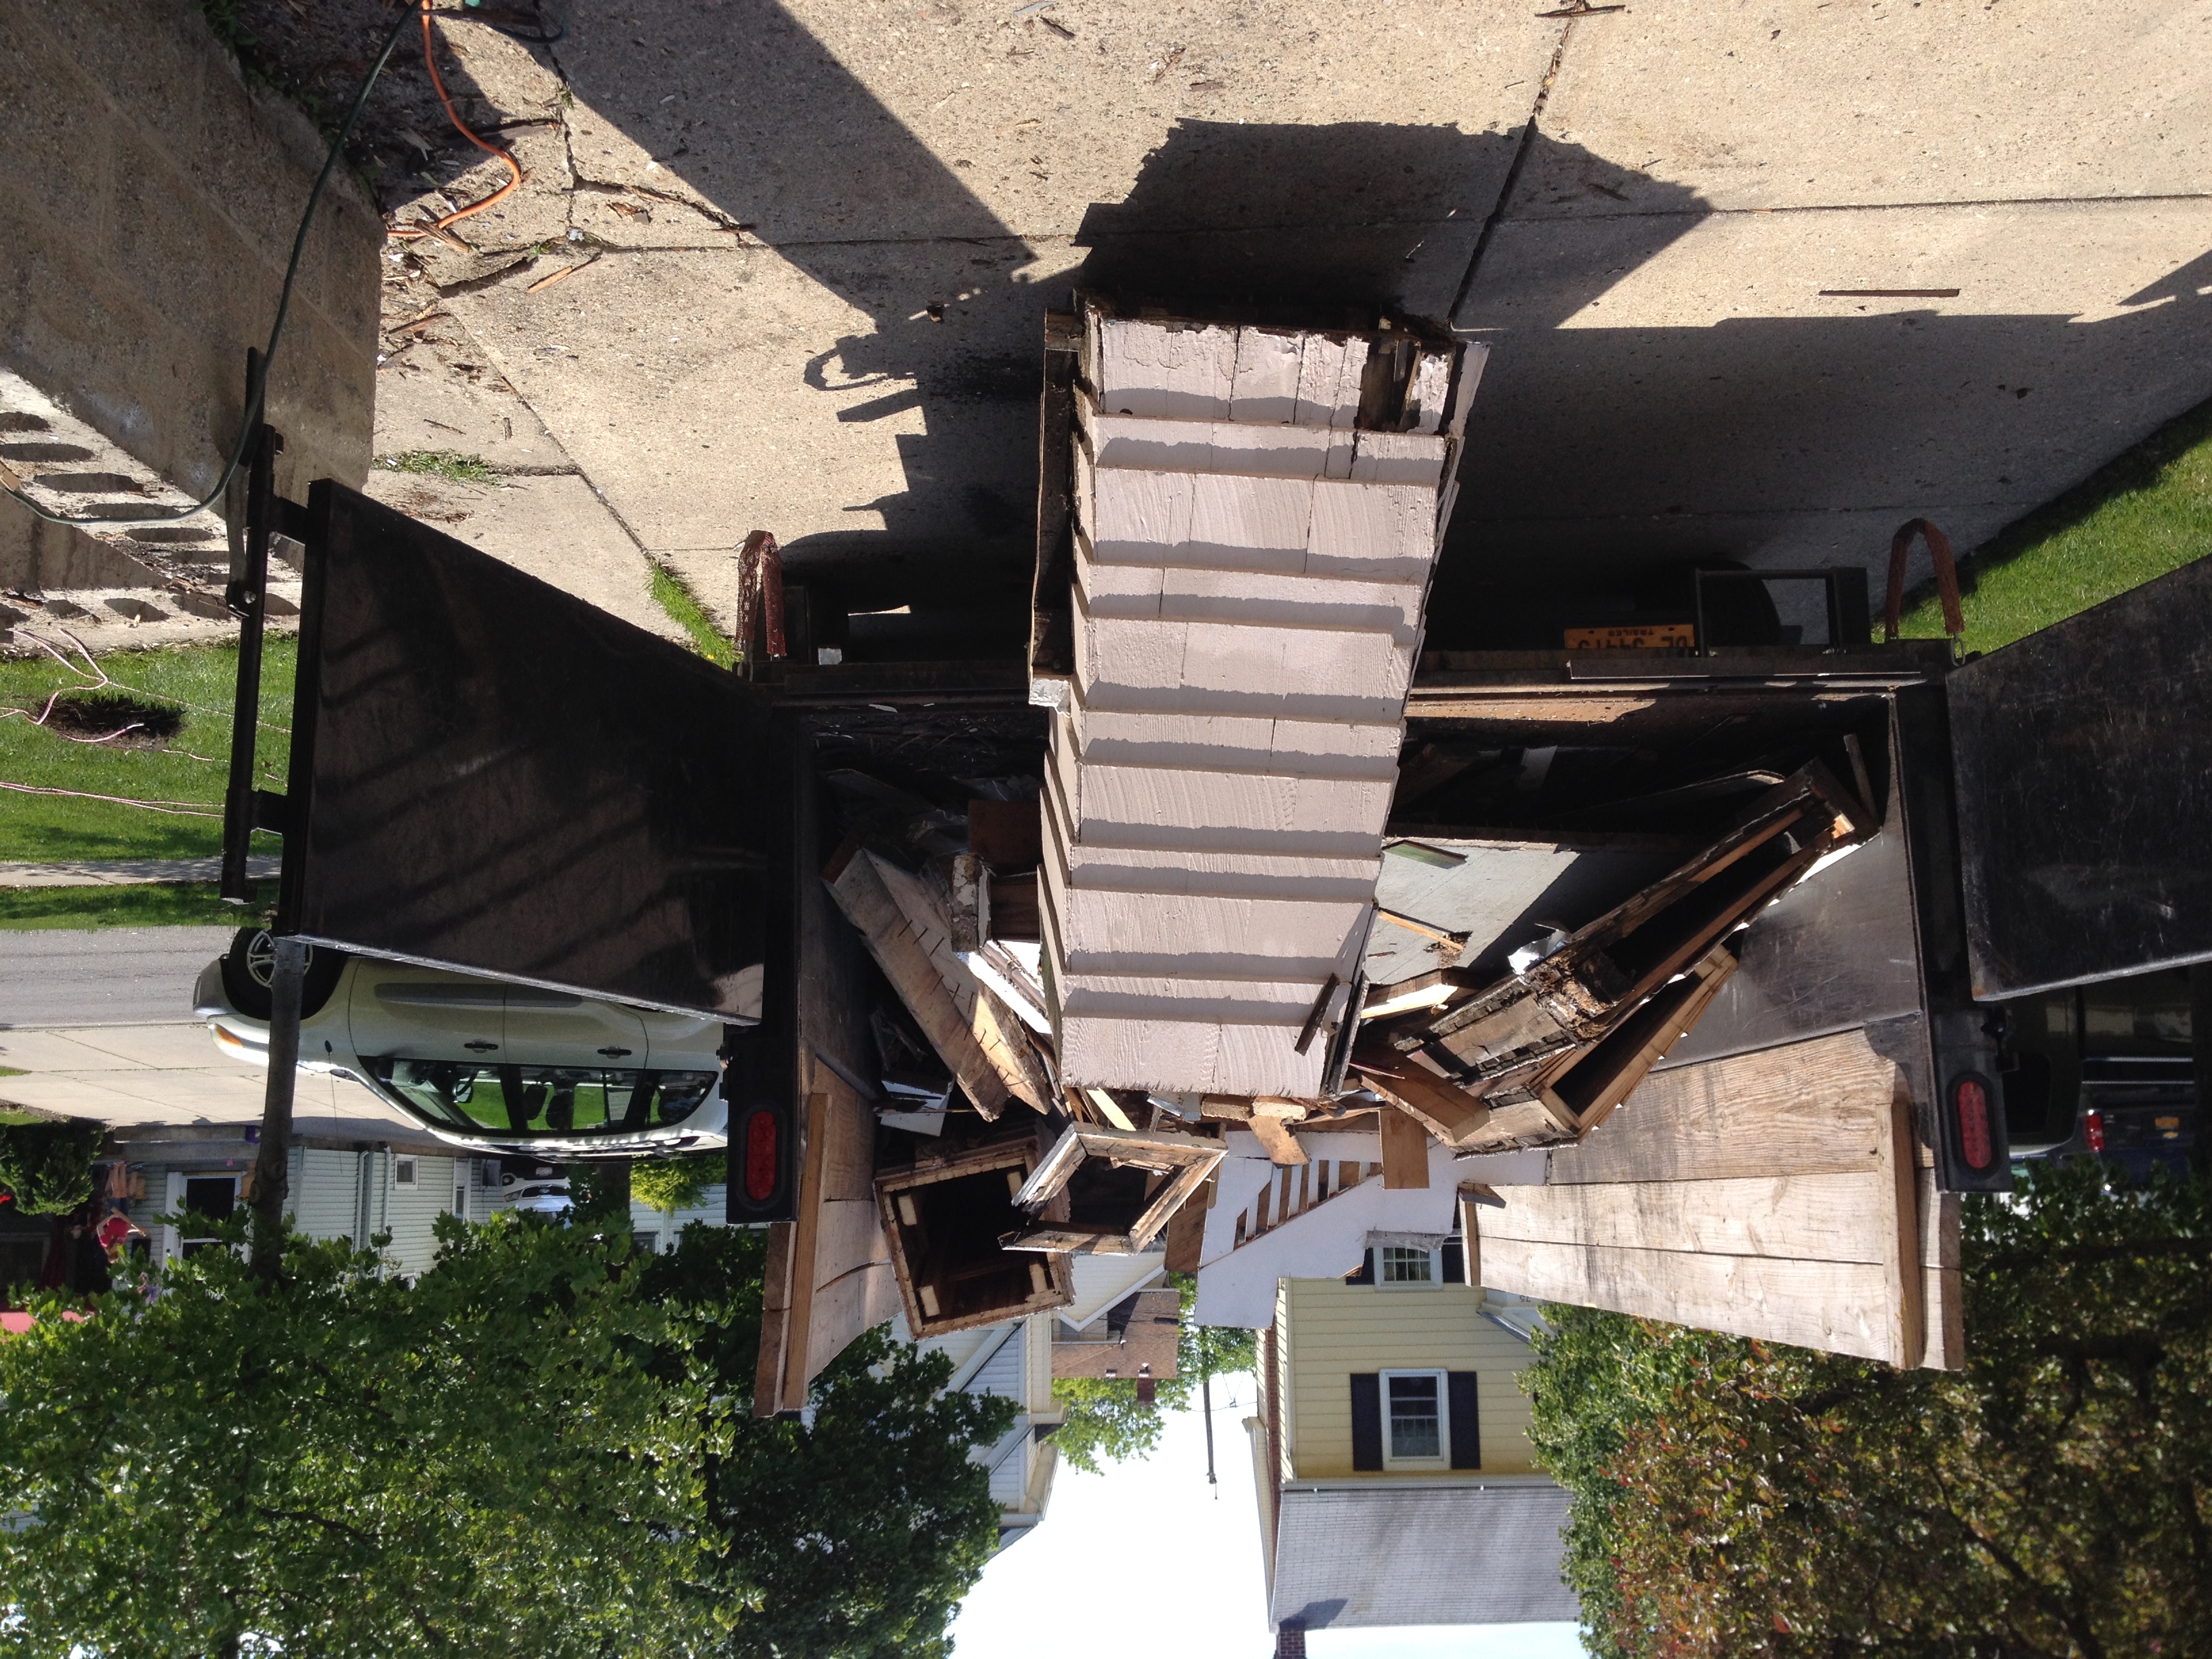
Demolition
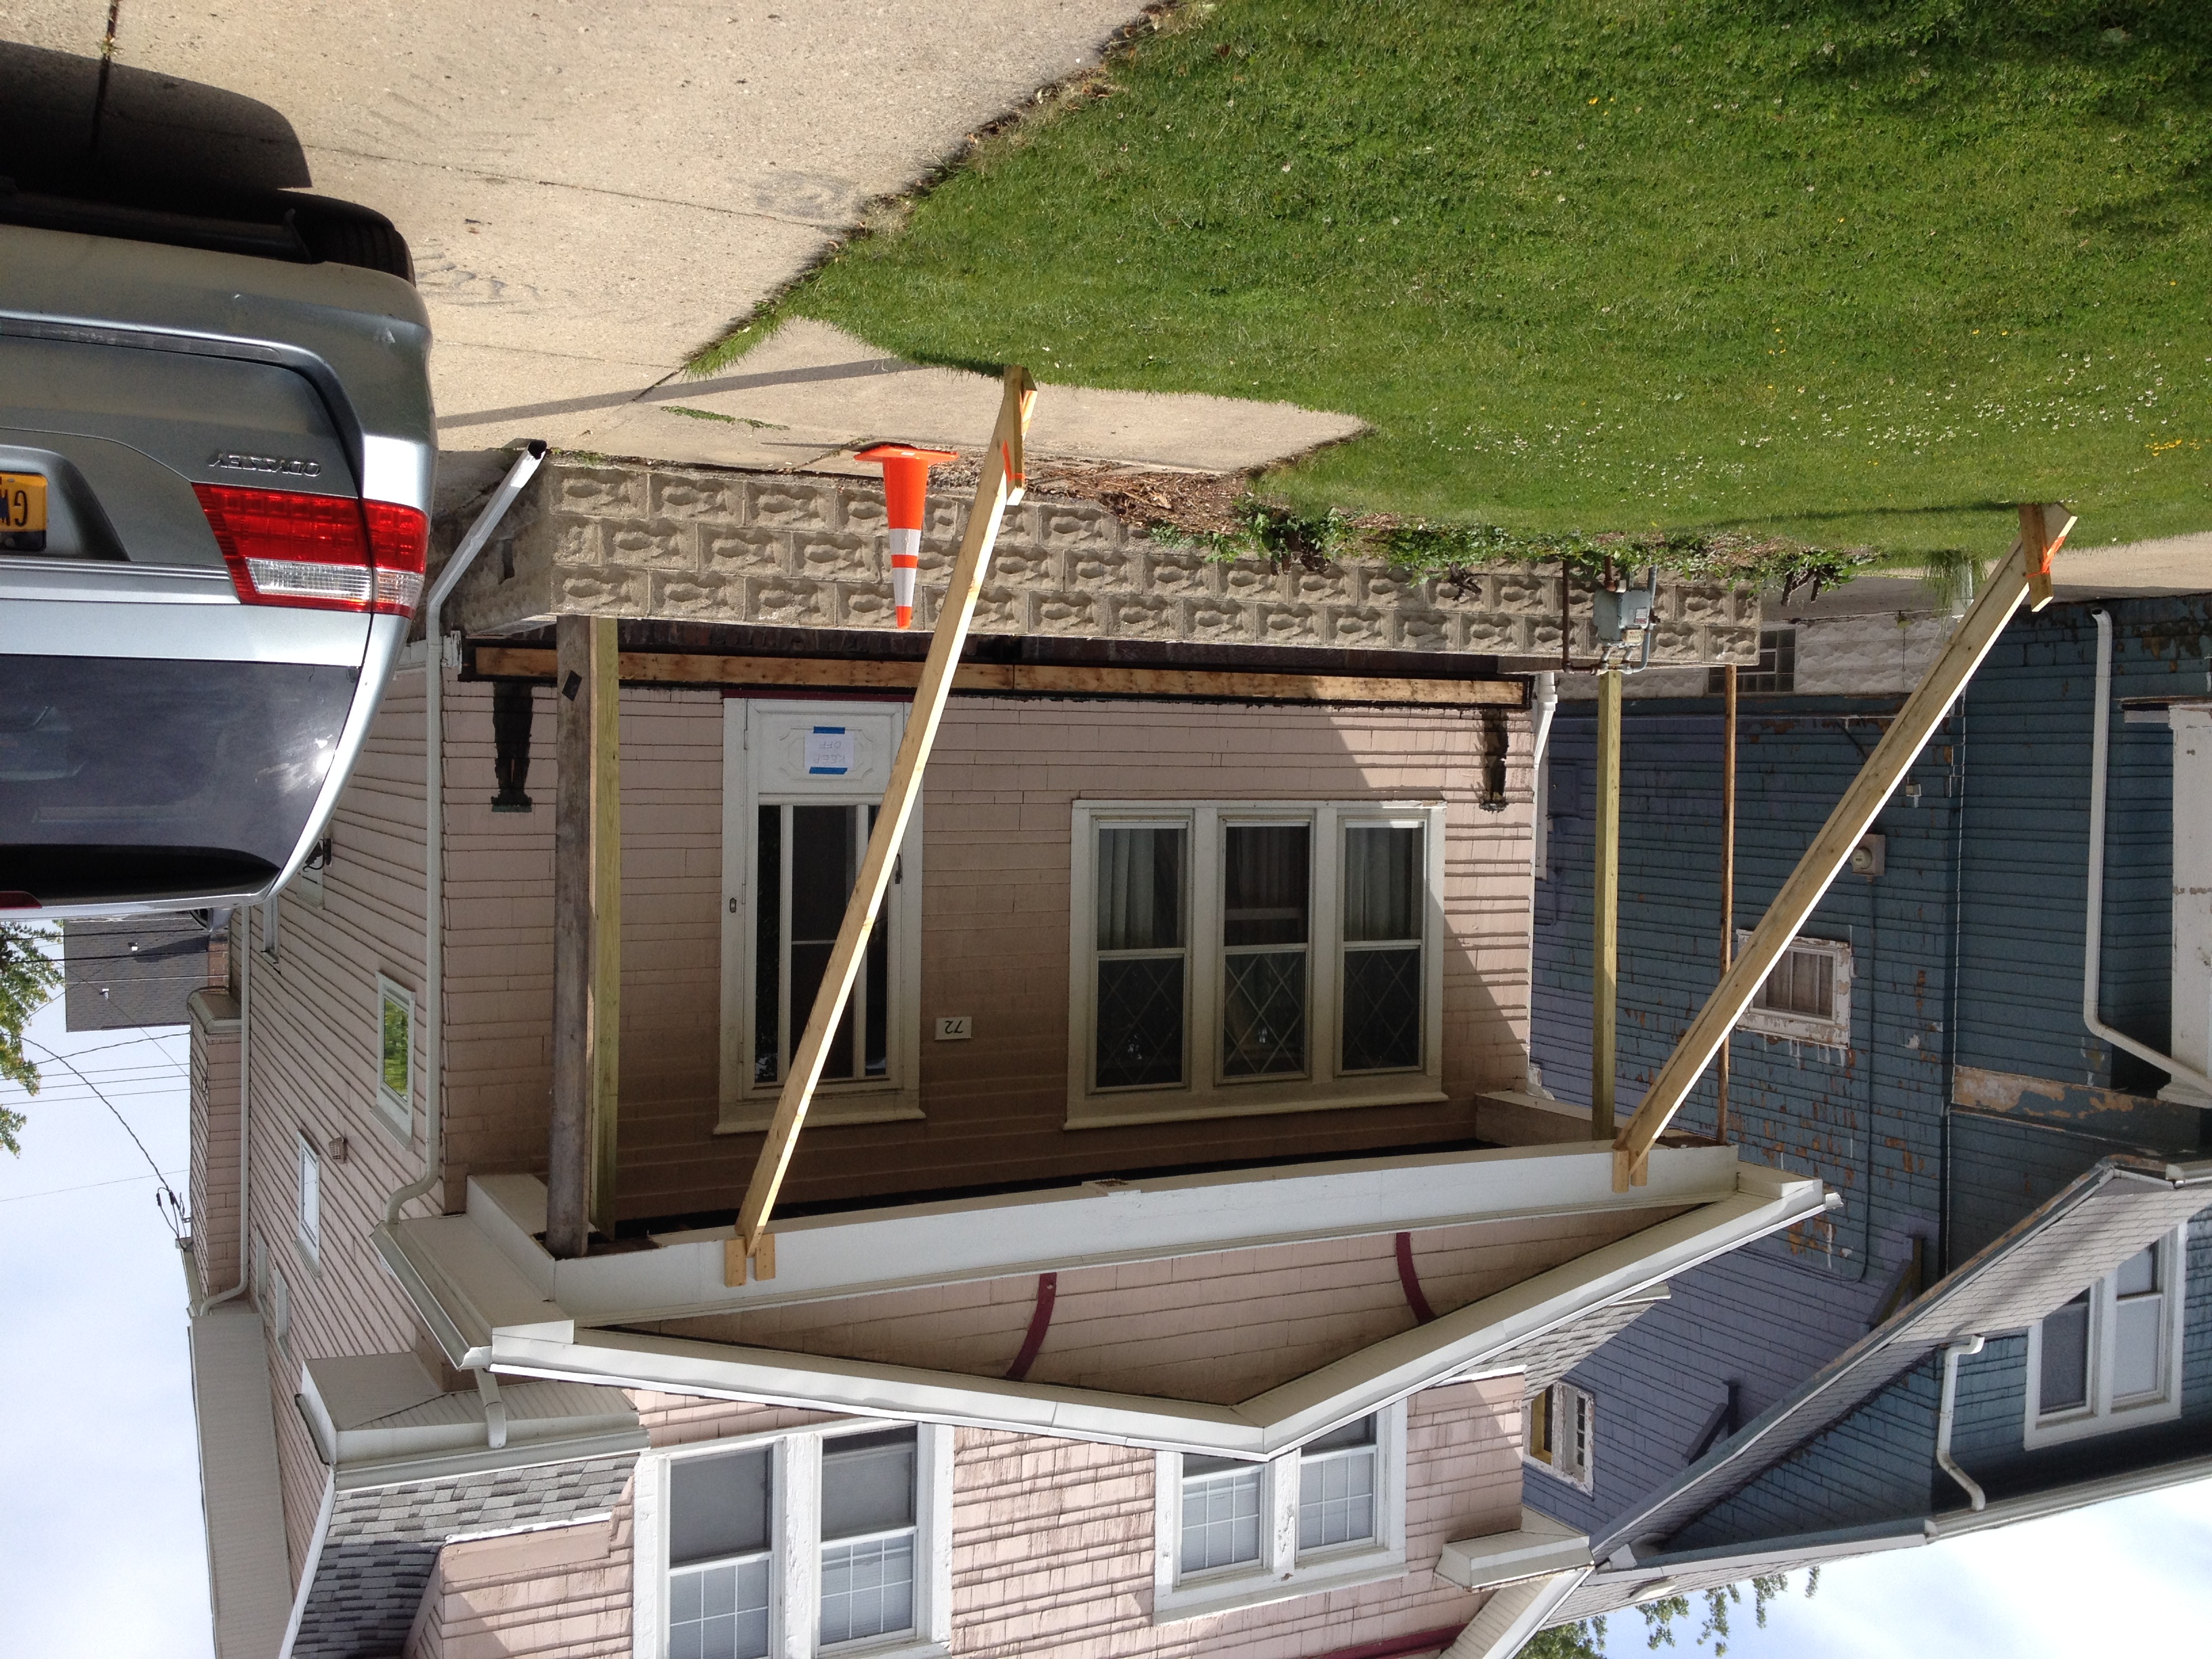
The mushy floor boards came right out, and my brother-in-law and I pulled down the rotted columns with a rope.
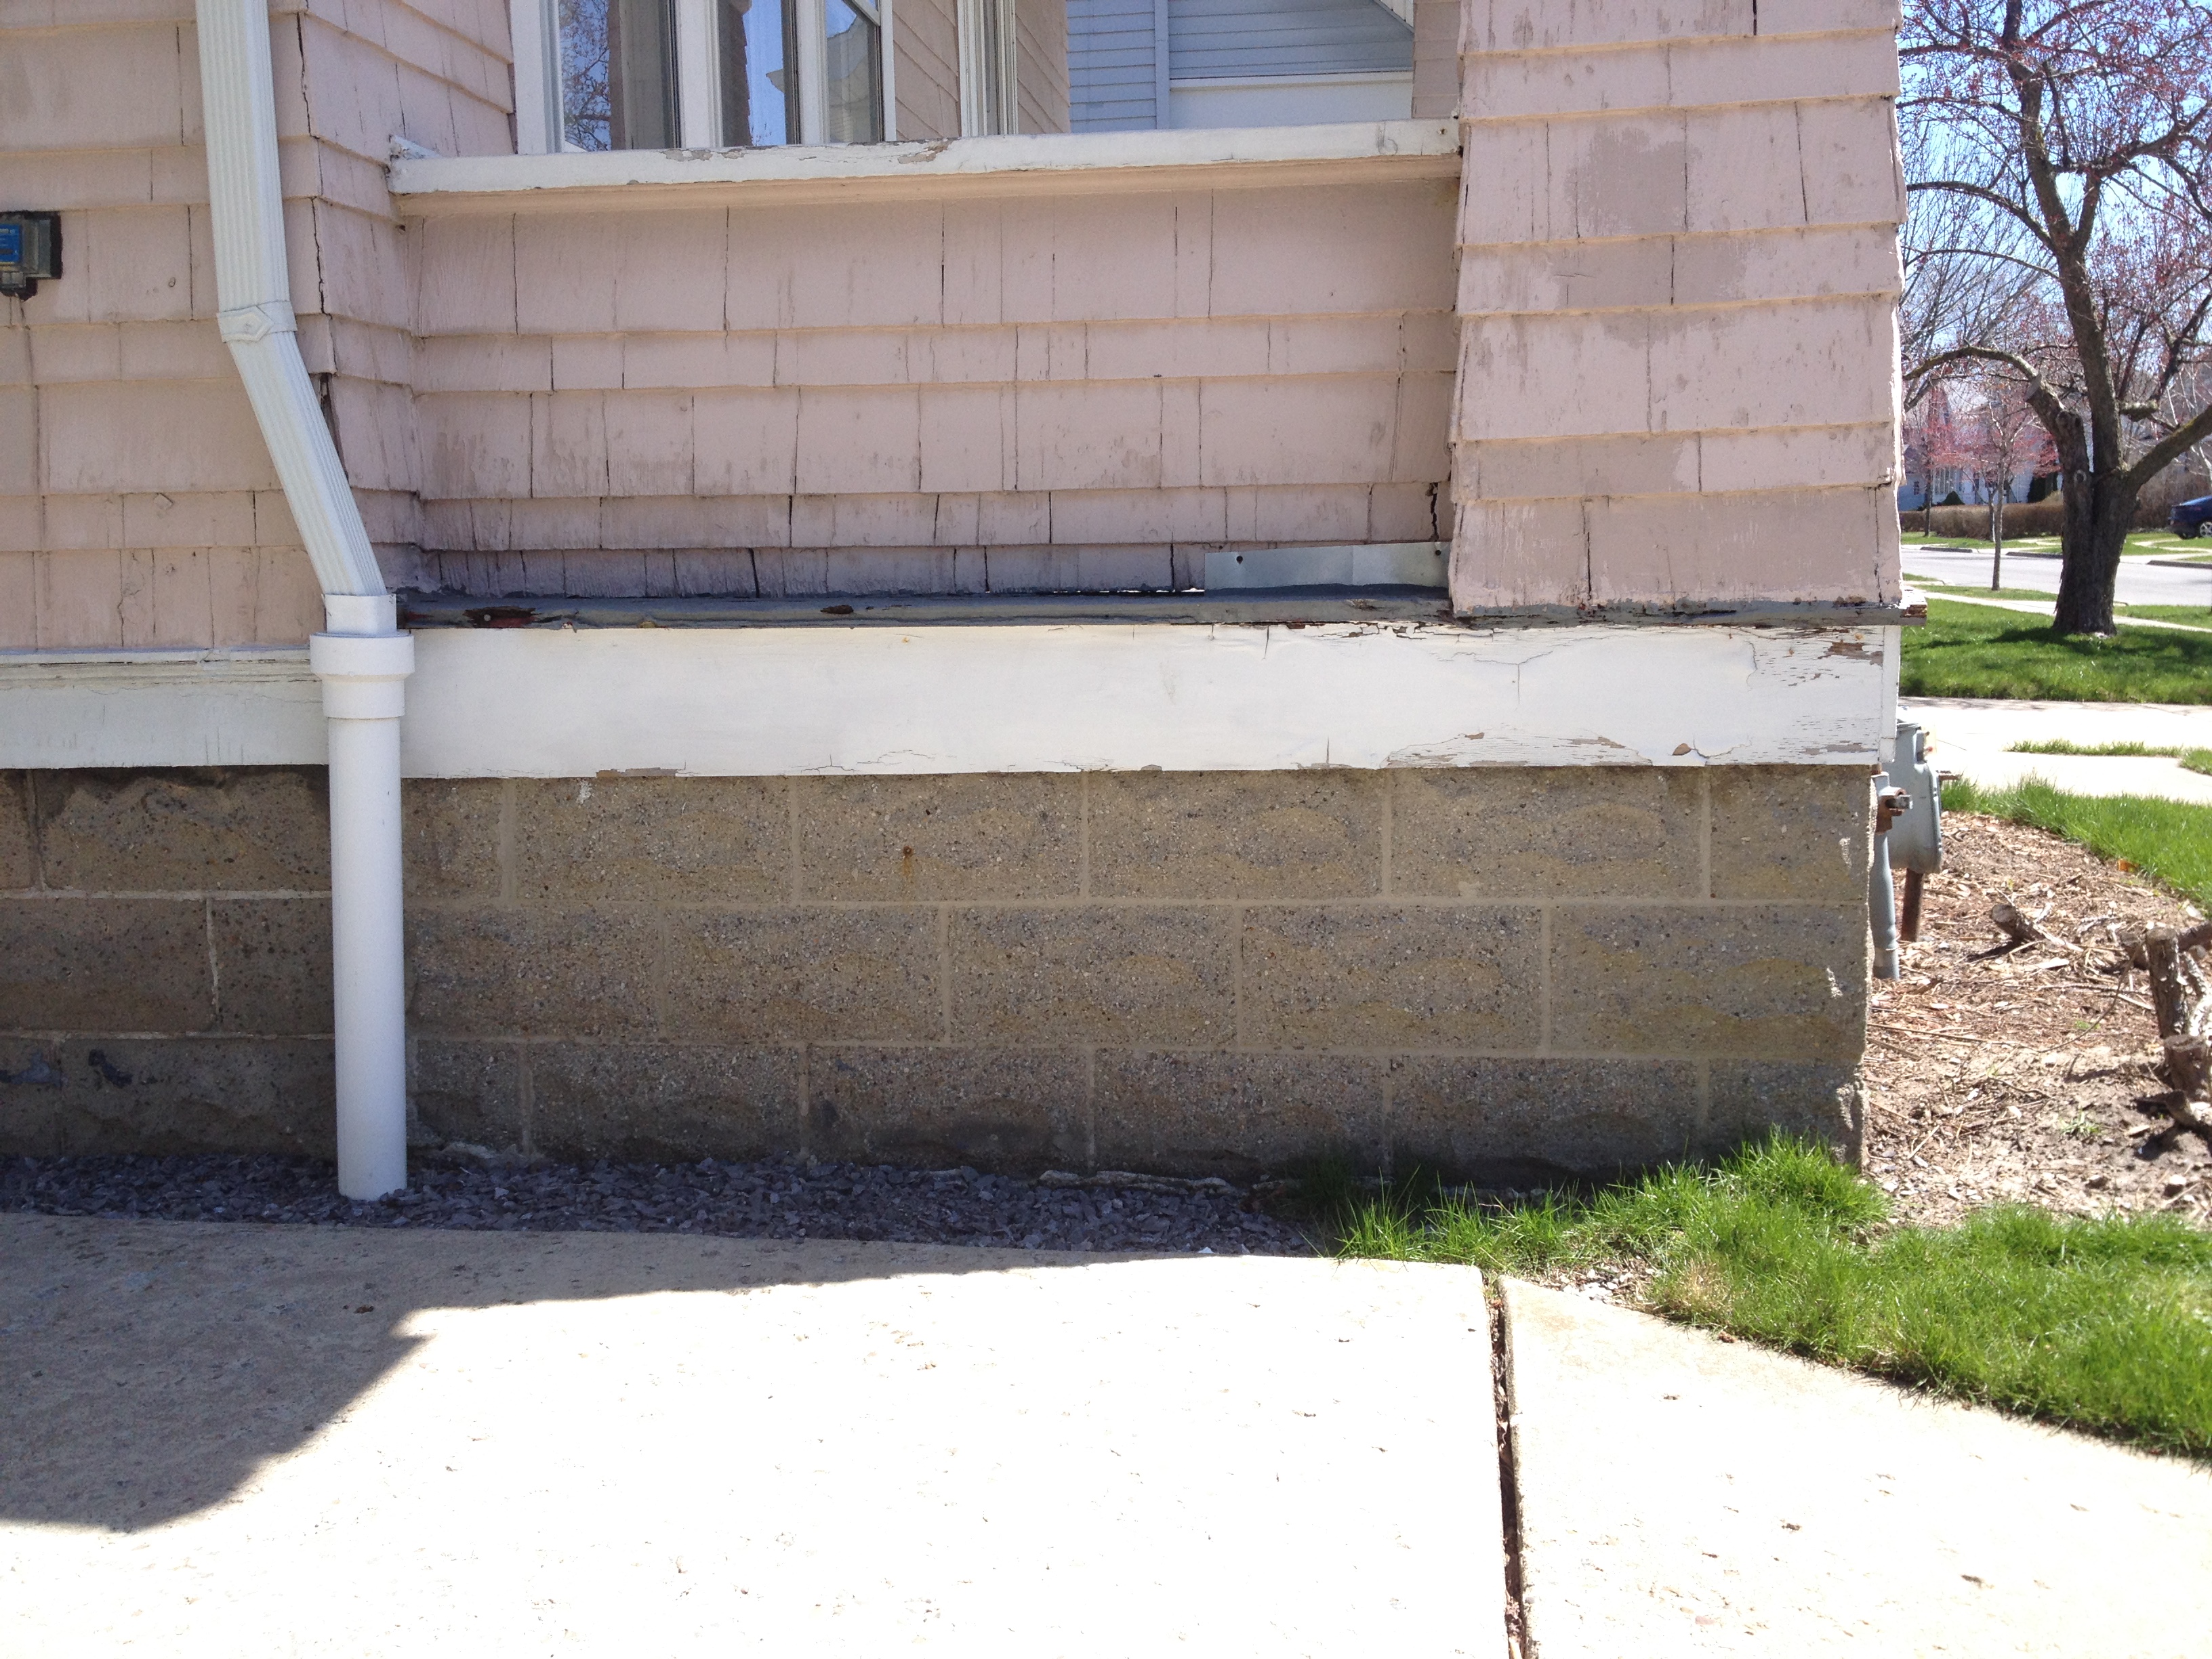
The block foundation was fairly modern, level, and sturdy. My father and I filled up the block wall with concrete adding steel rebar to the corners, and lag anchors for the new treated sill. The old porch was actually held down with only gravity! I try to follow my Dad’s engineering philosophy: “If you’re not sure, make it twice as strong.”
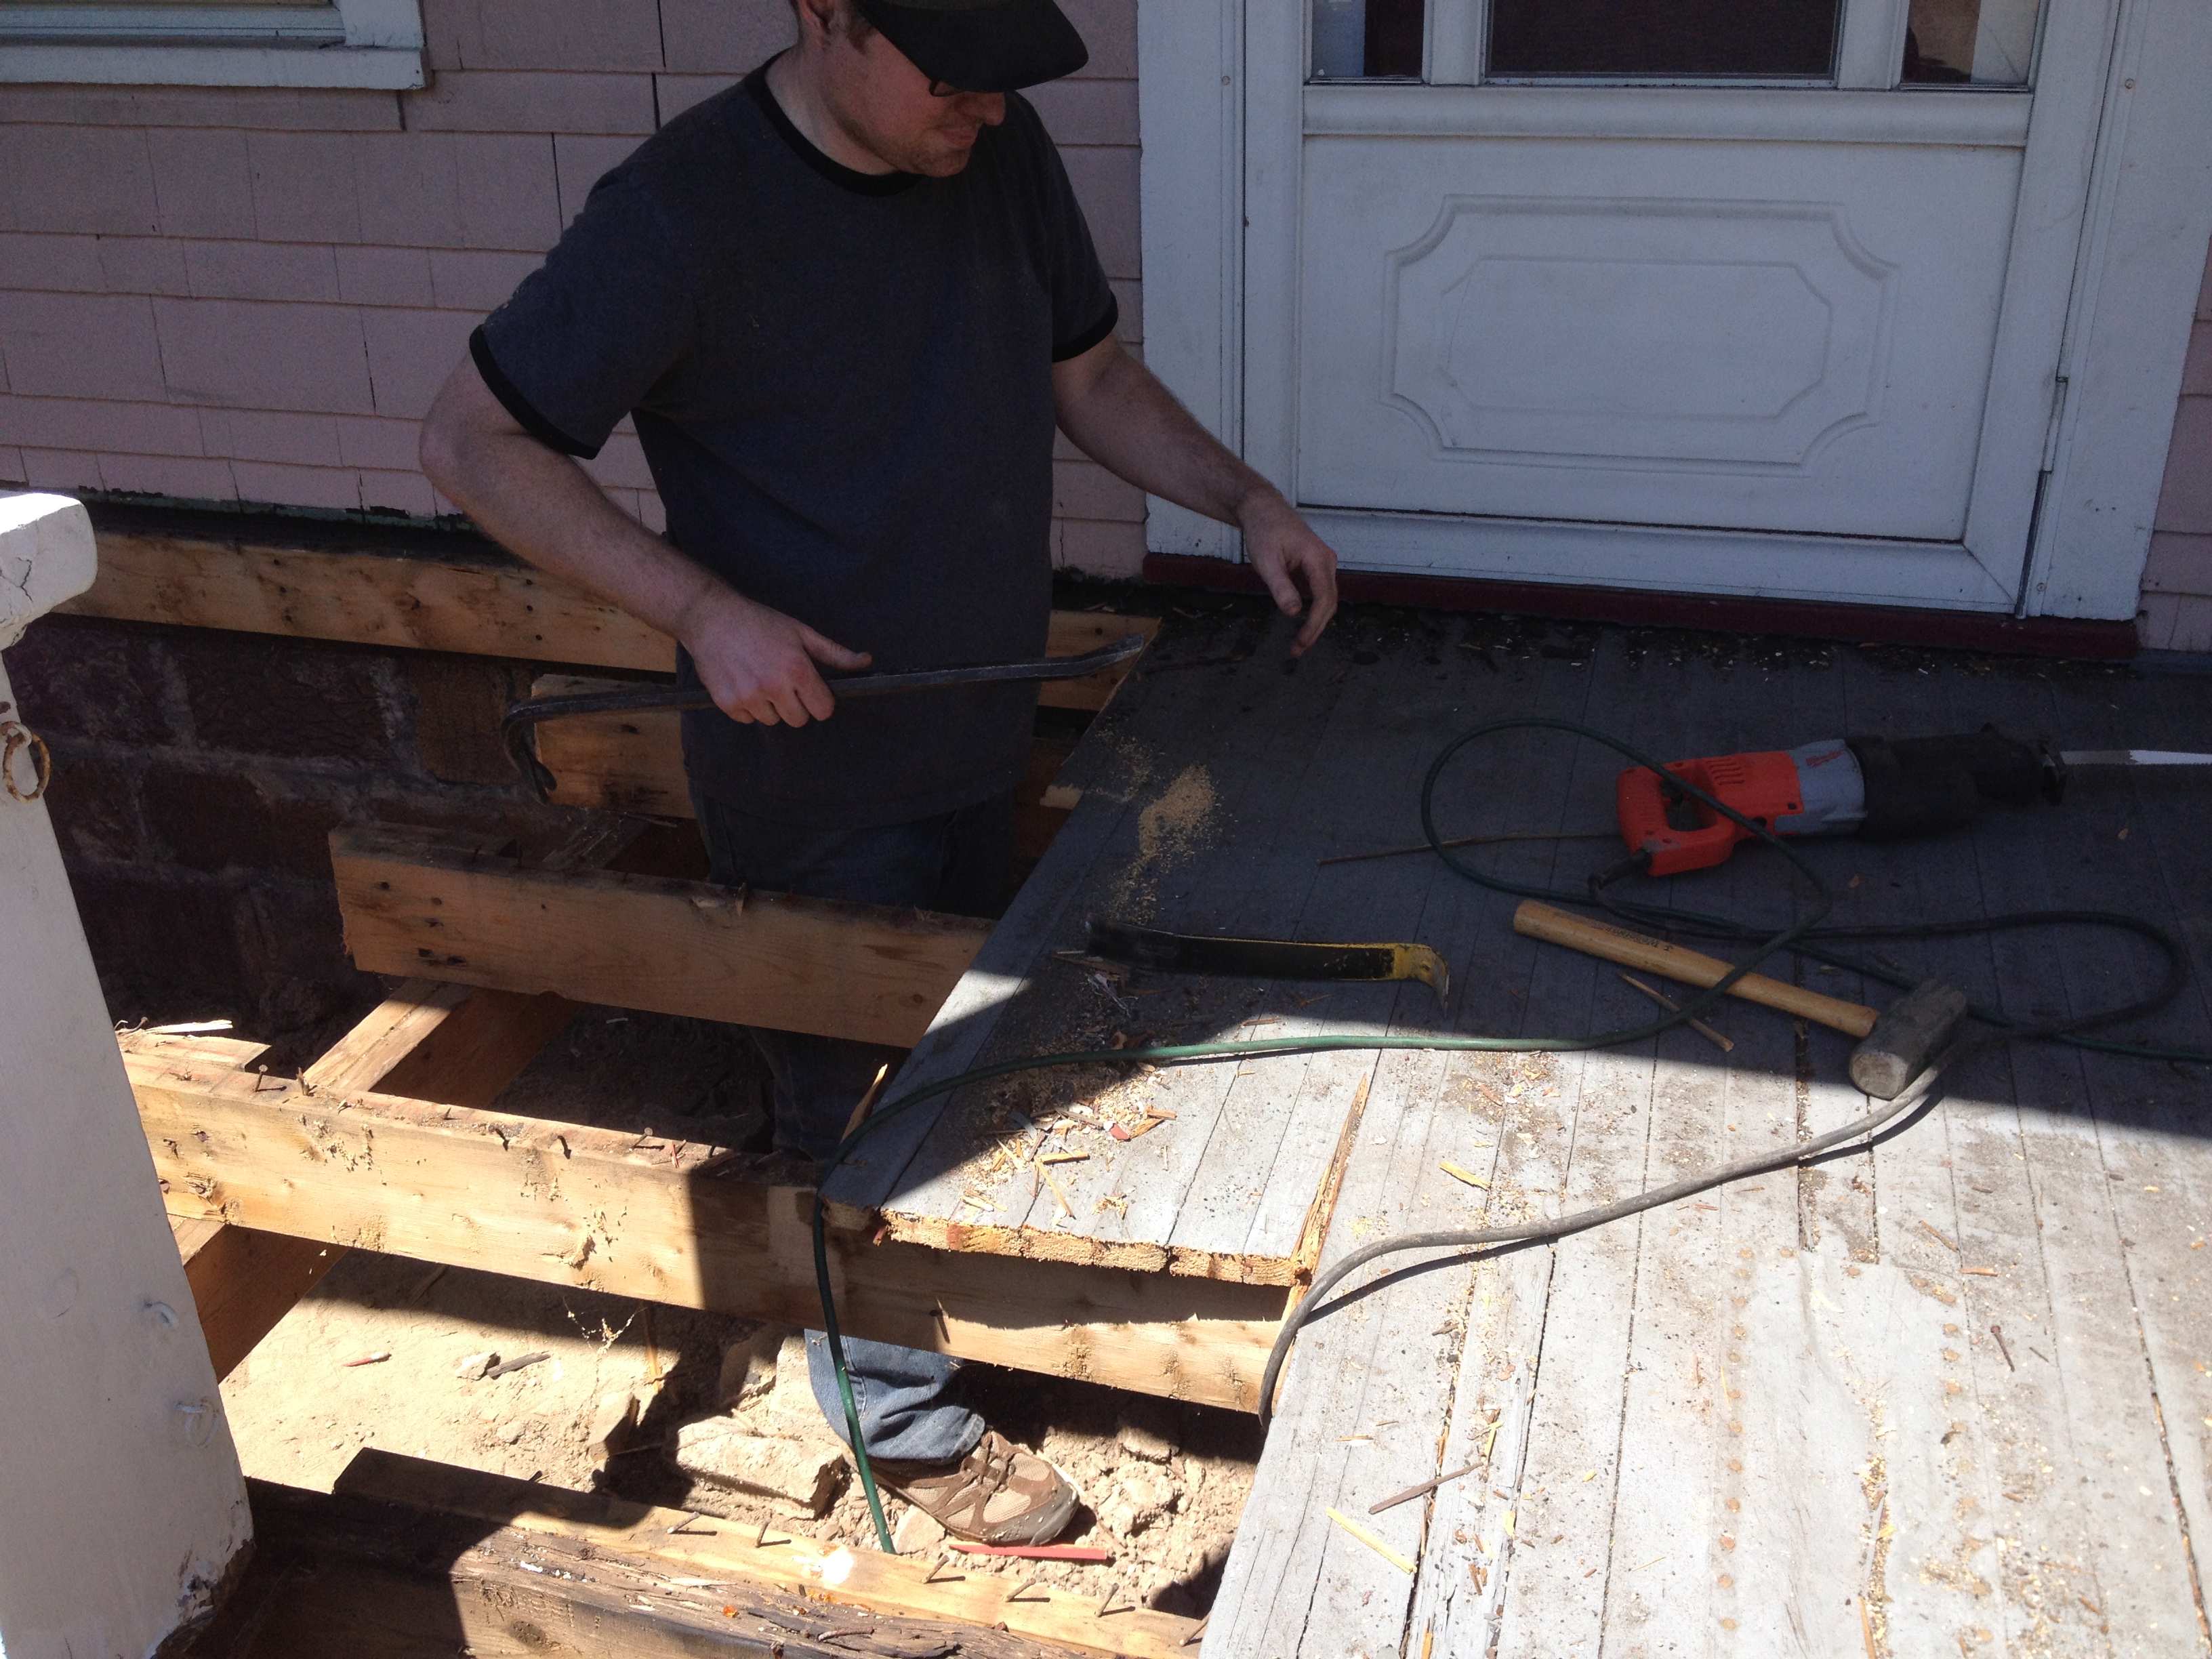

We found an antique glass milk bottle inside one of the old box columns, probably left by a worker almost a hundred years ago.
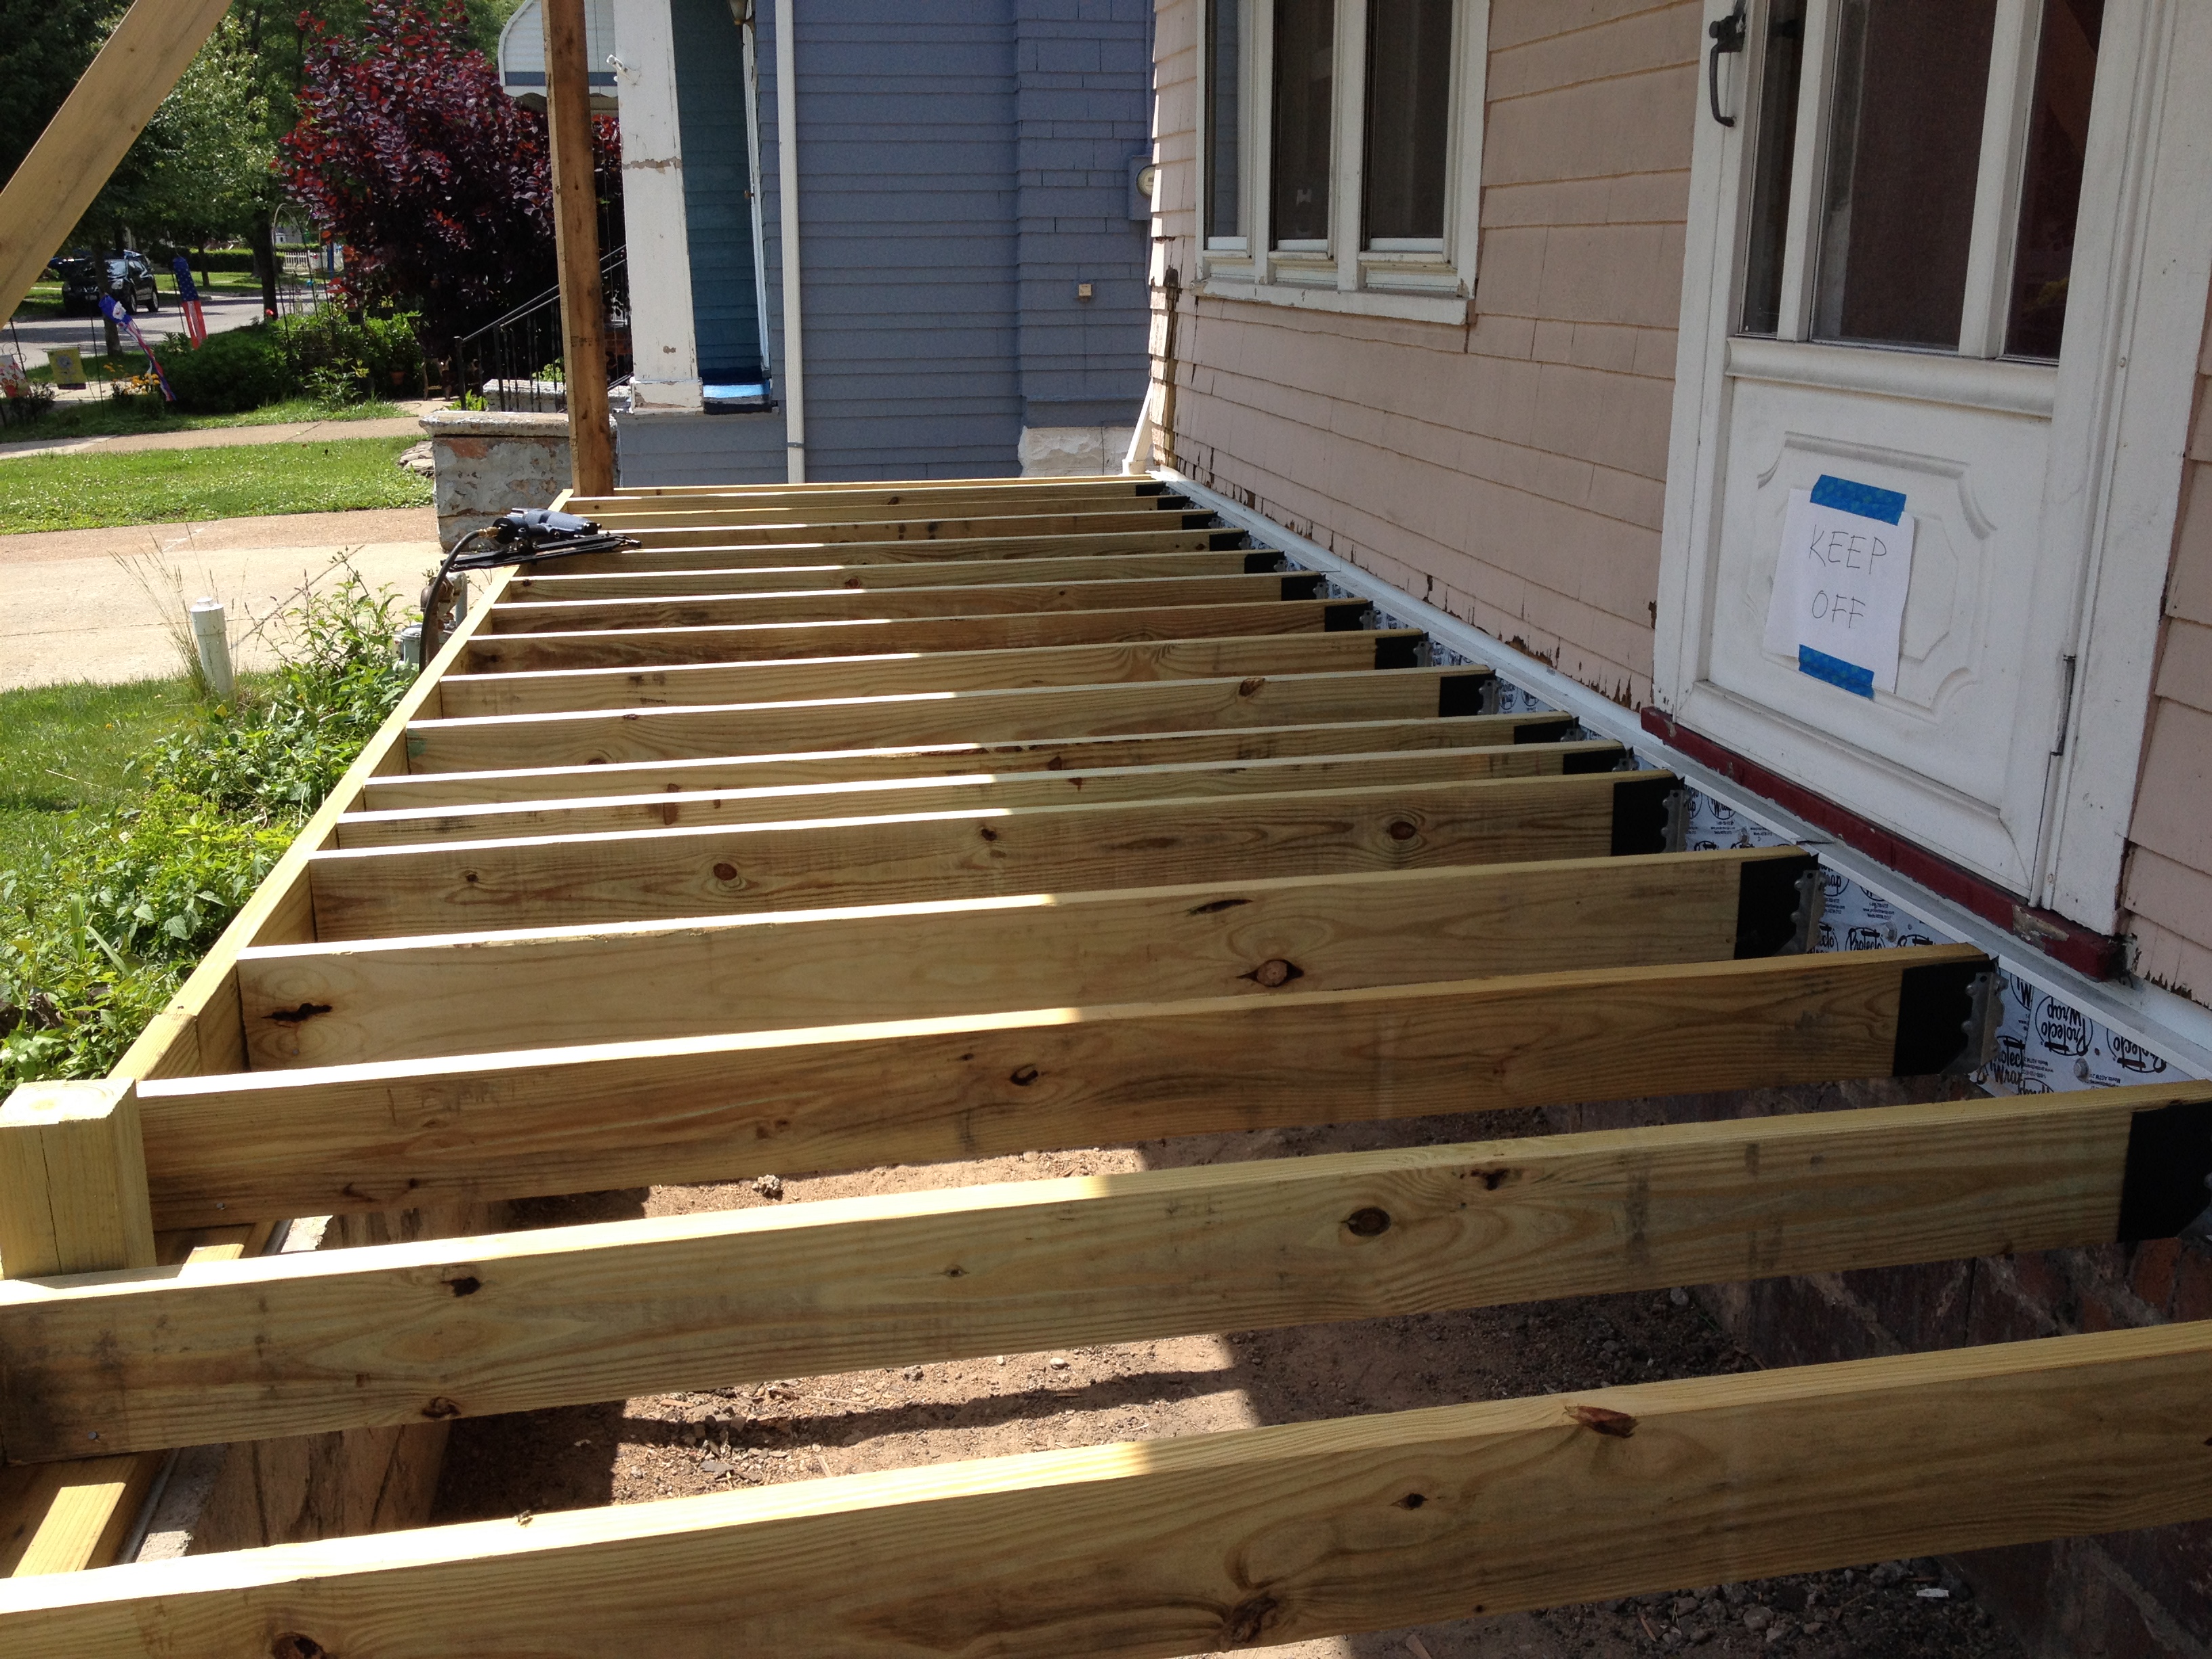
Framing and Decking
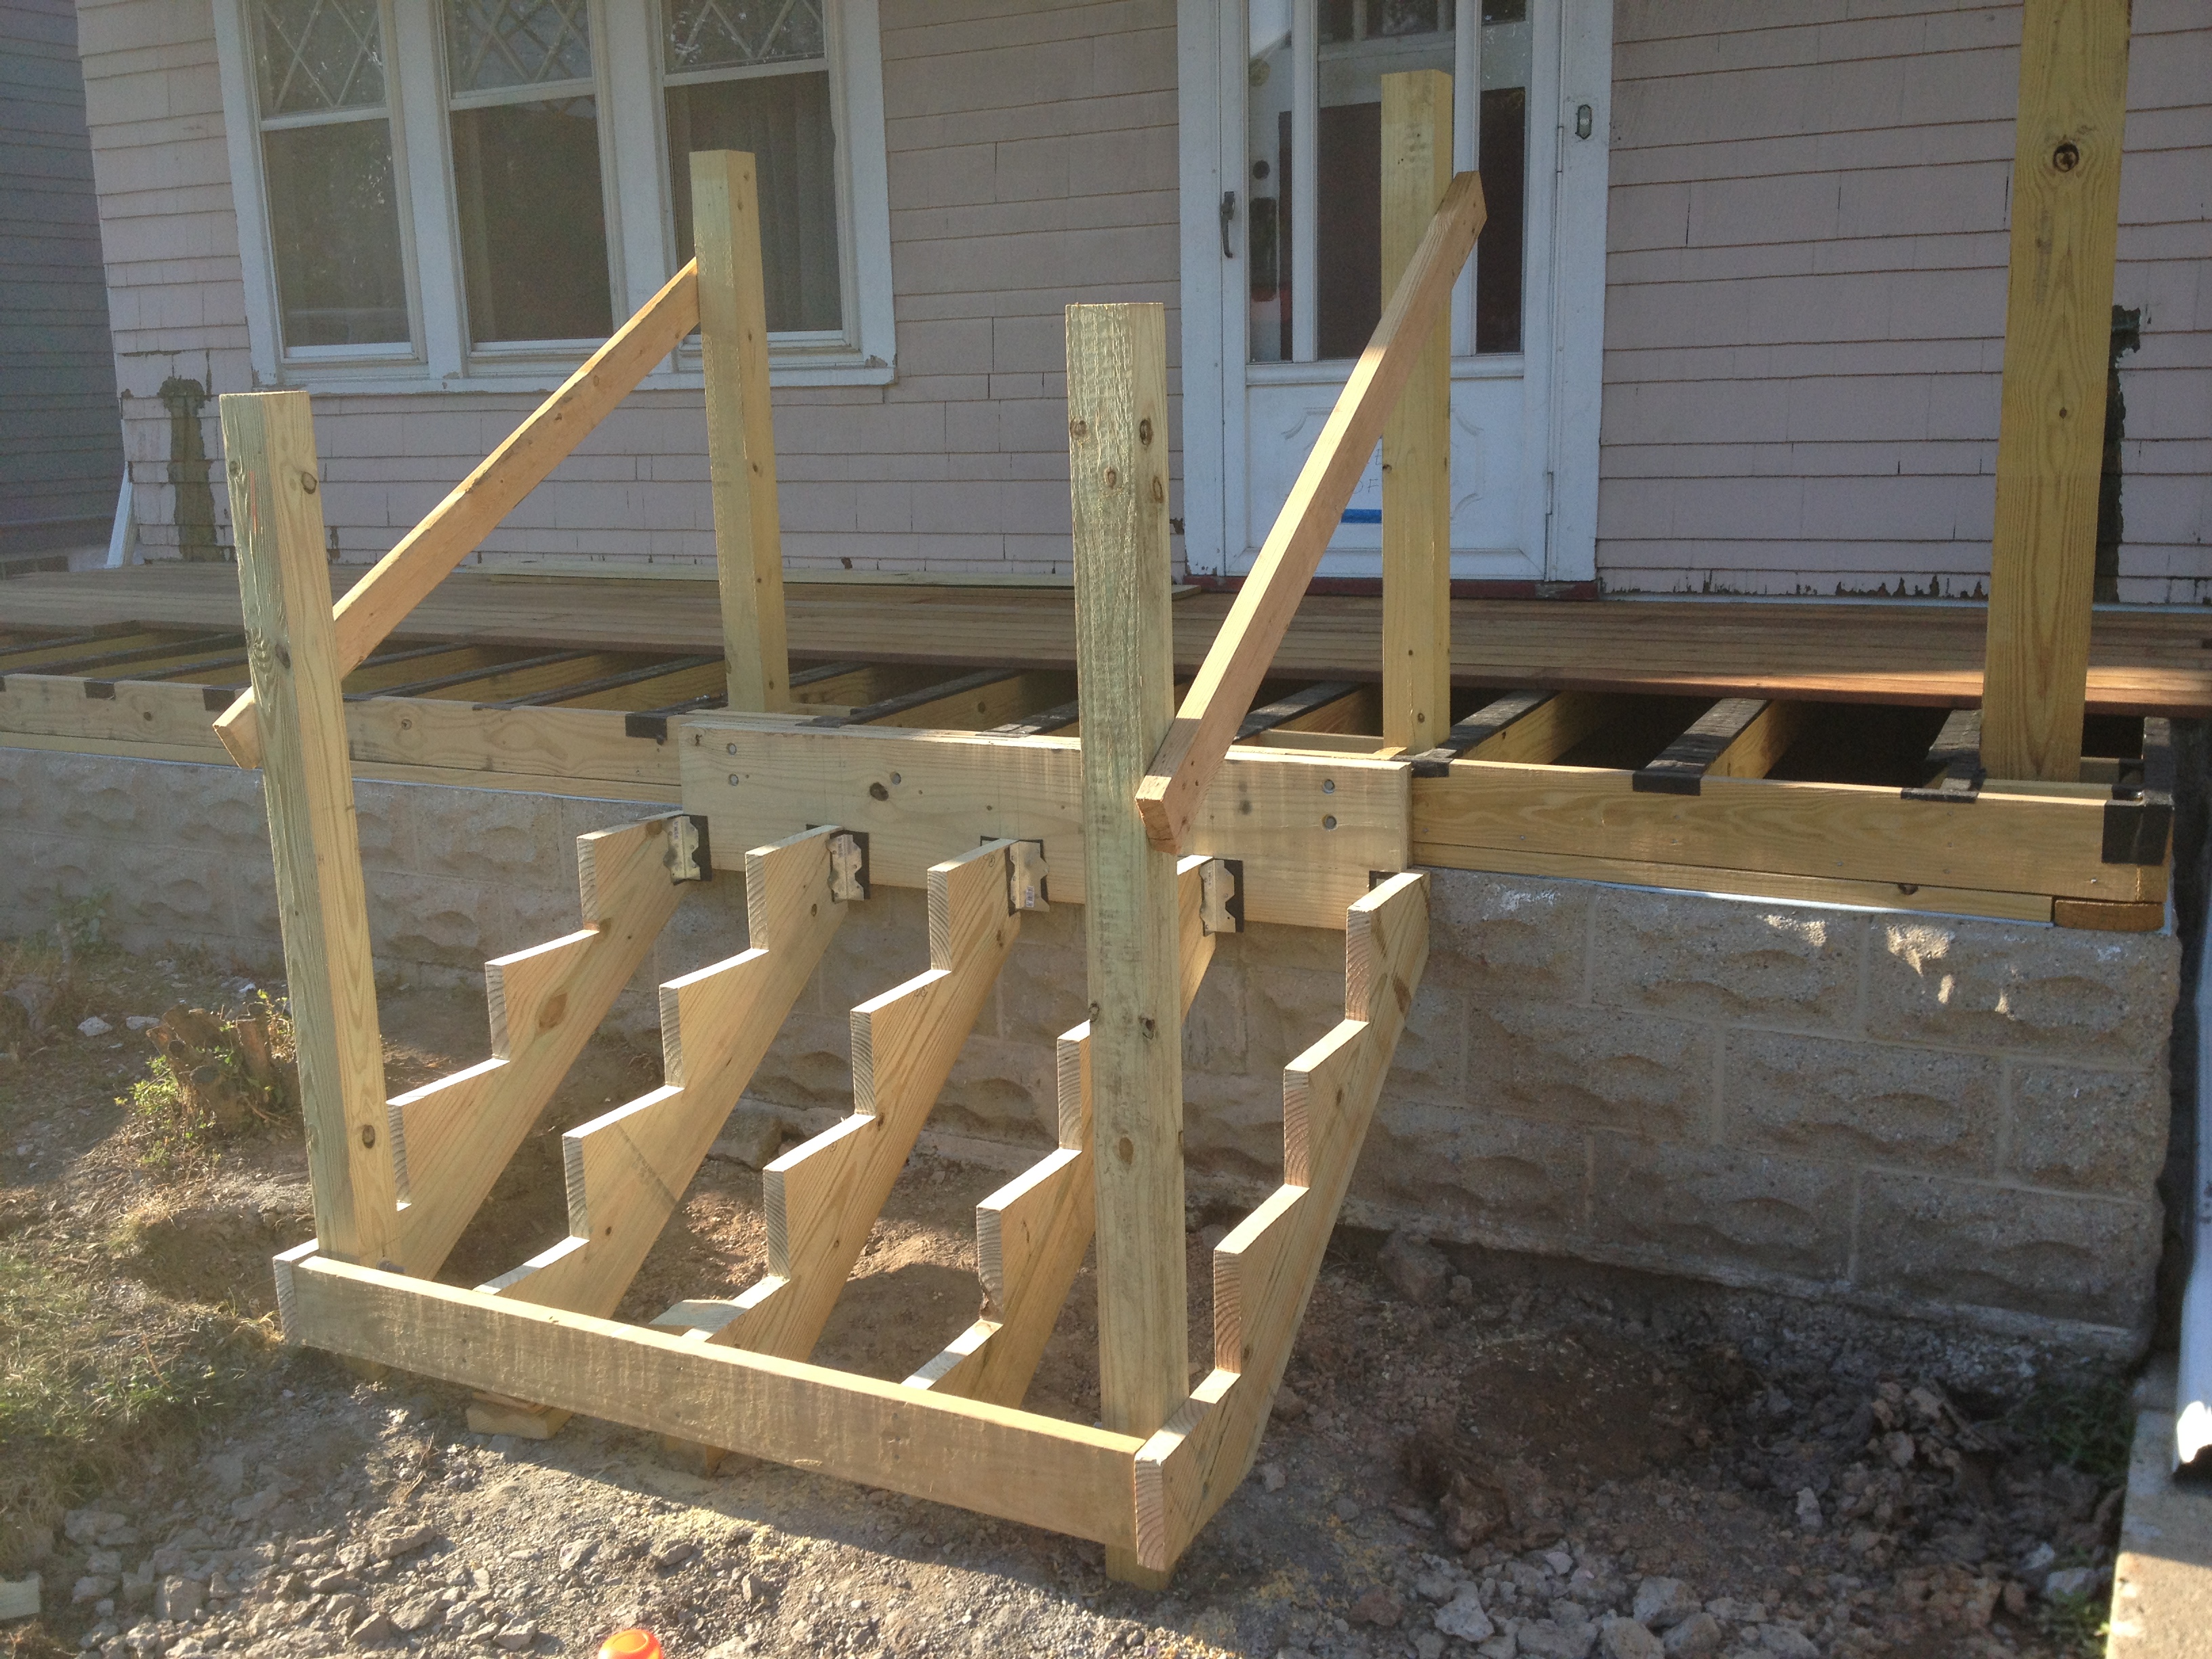
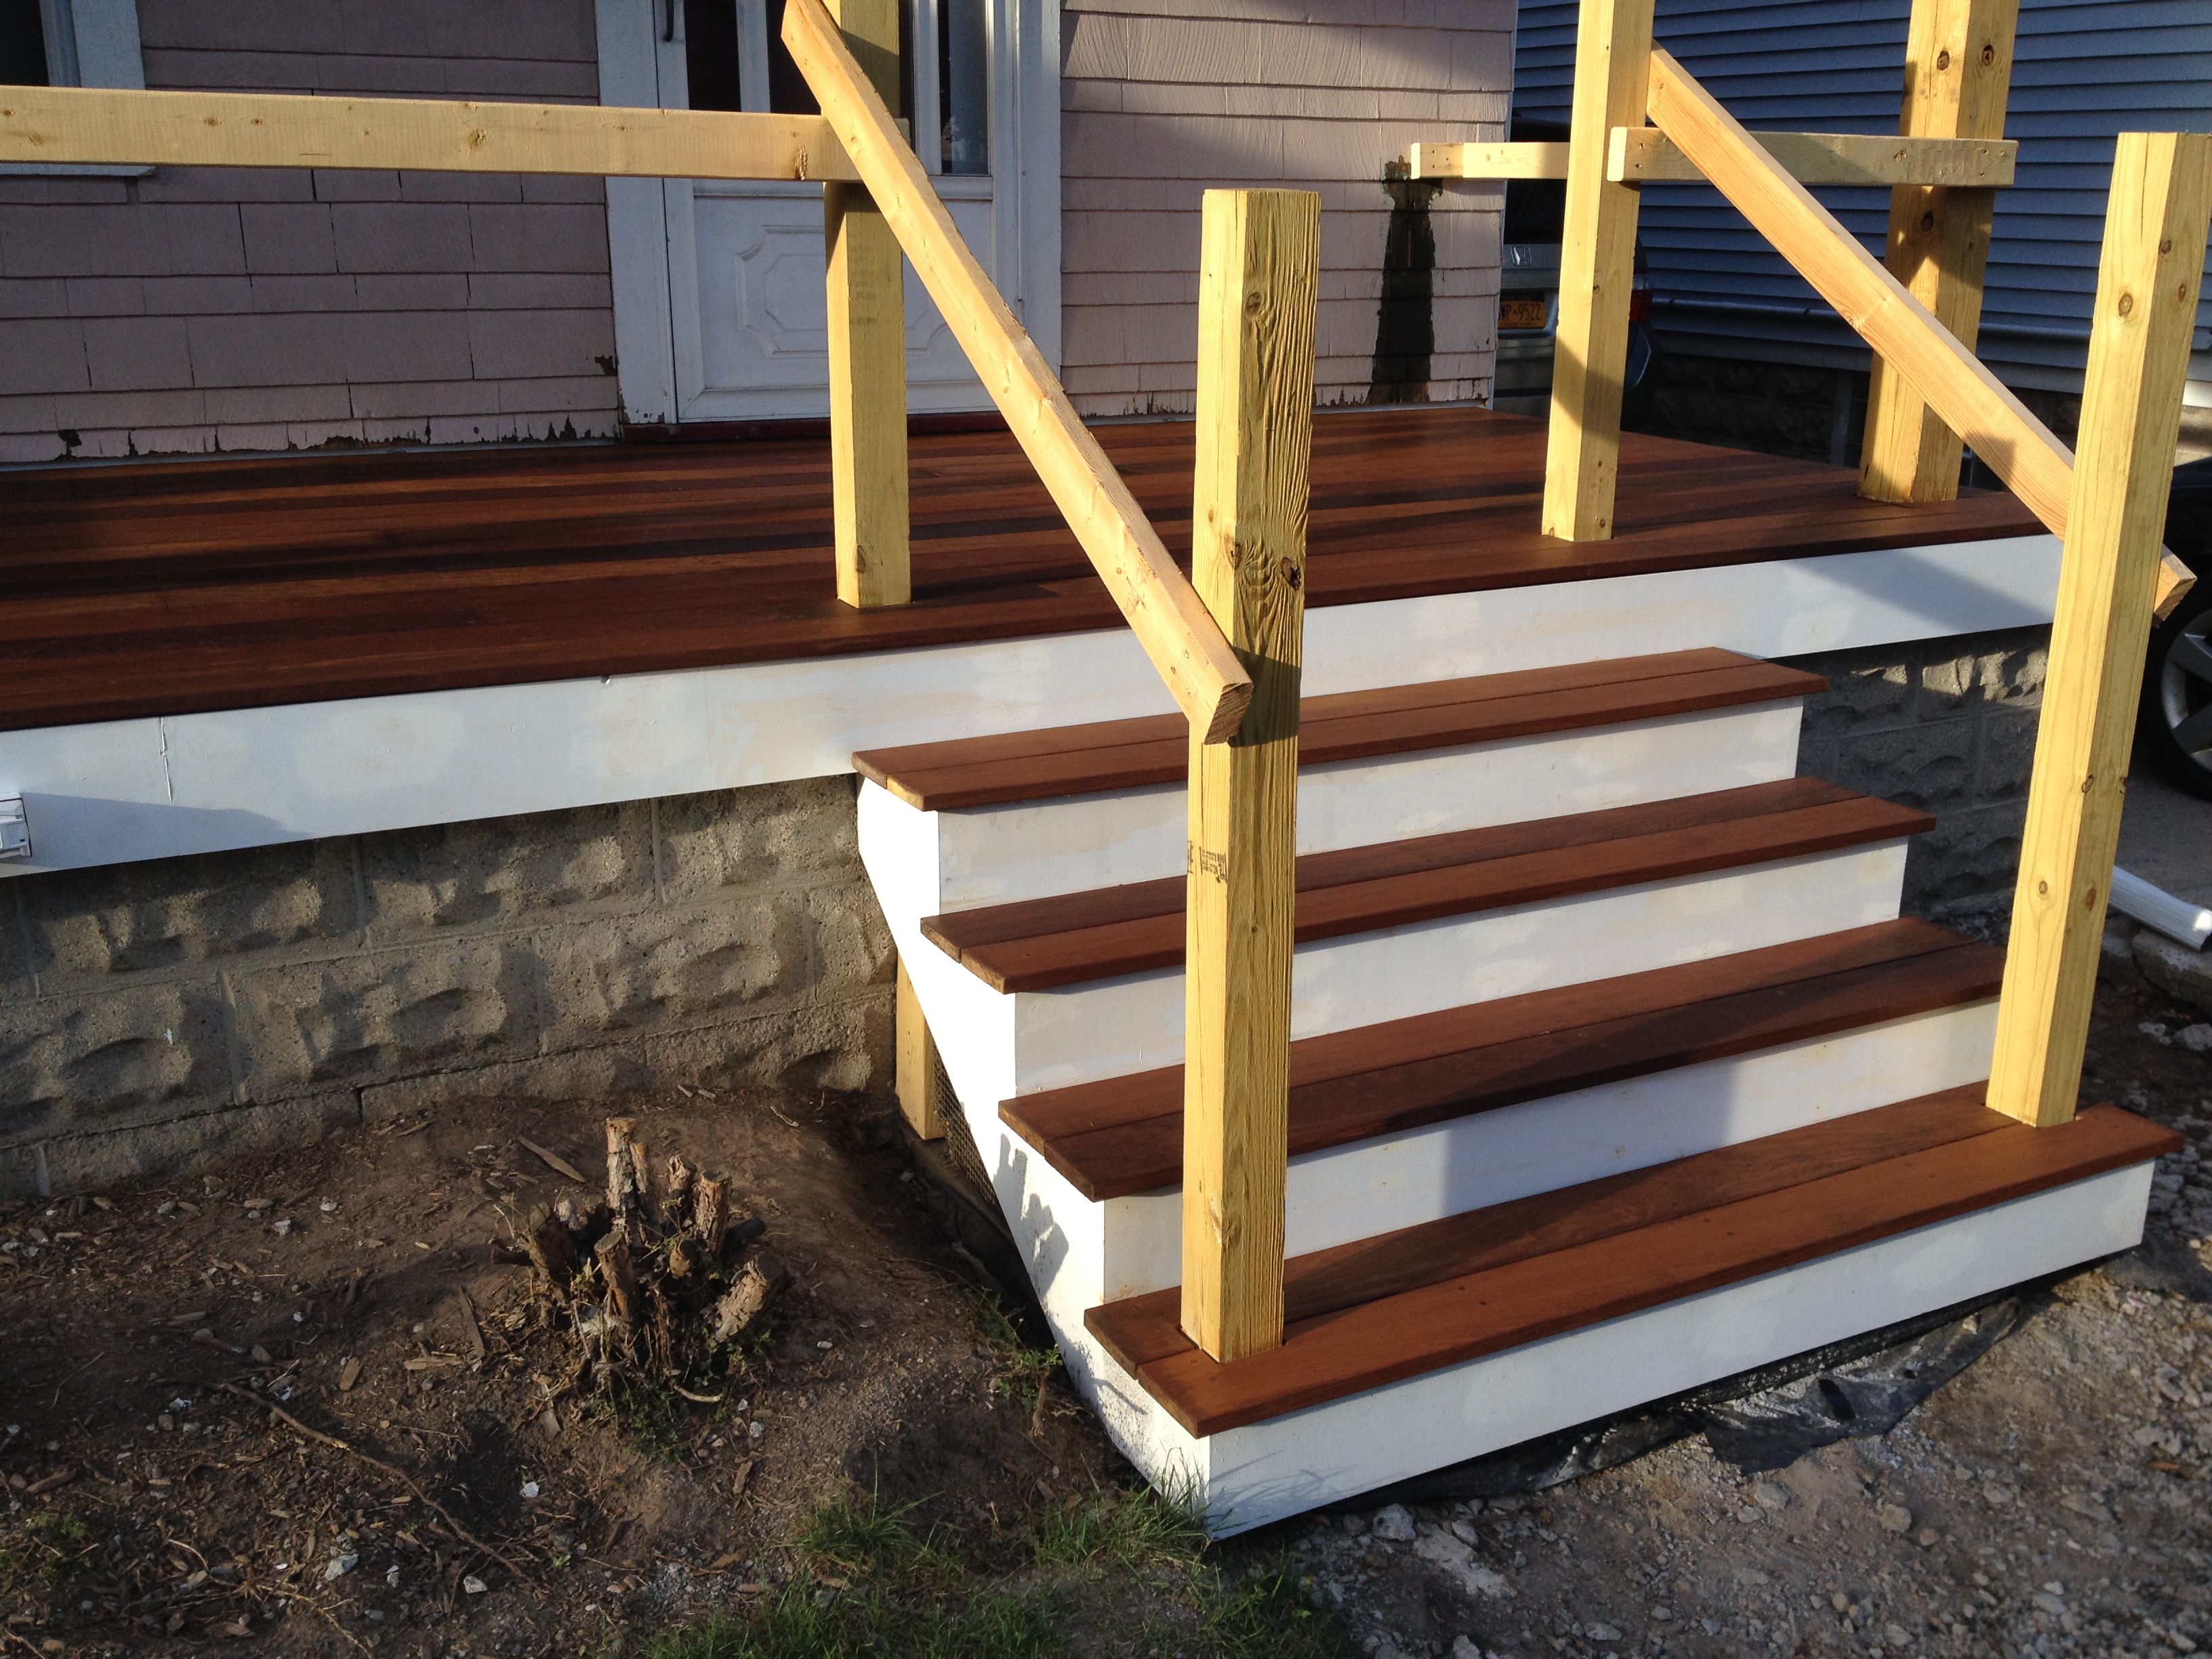
I followed a combination of modern “bulletproof” deck techniques when possible including a better ledger board up against the house with lots of flashing and seal tape. The joists were run the short way to fit in the existing space between the foundation and door without additional supports, and the decking was run the long way. This is less desirable for water runoff, but I already knew I was going with Brazilian Ipe, a hardwood known for durability outdoors under extreme conditions. I doubled the joists to allow for attaching staggered butt seams in the floor boards, and wrapped top of the joists with weather seal tape.
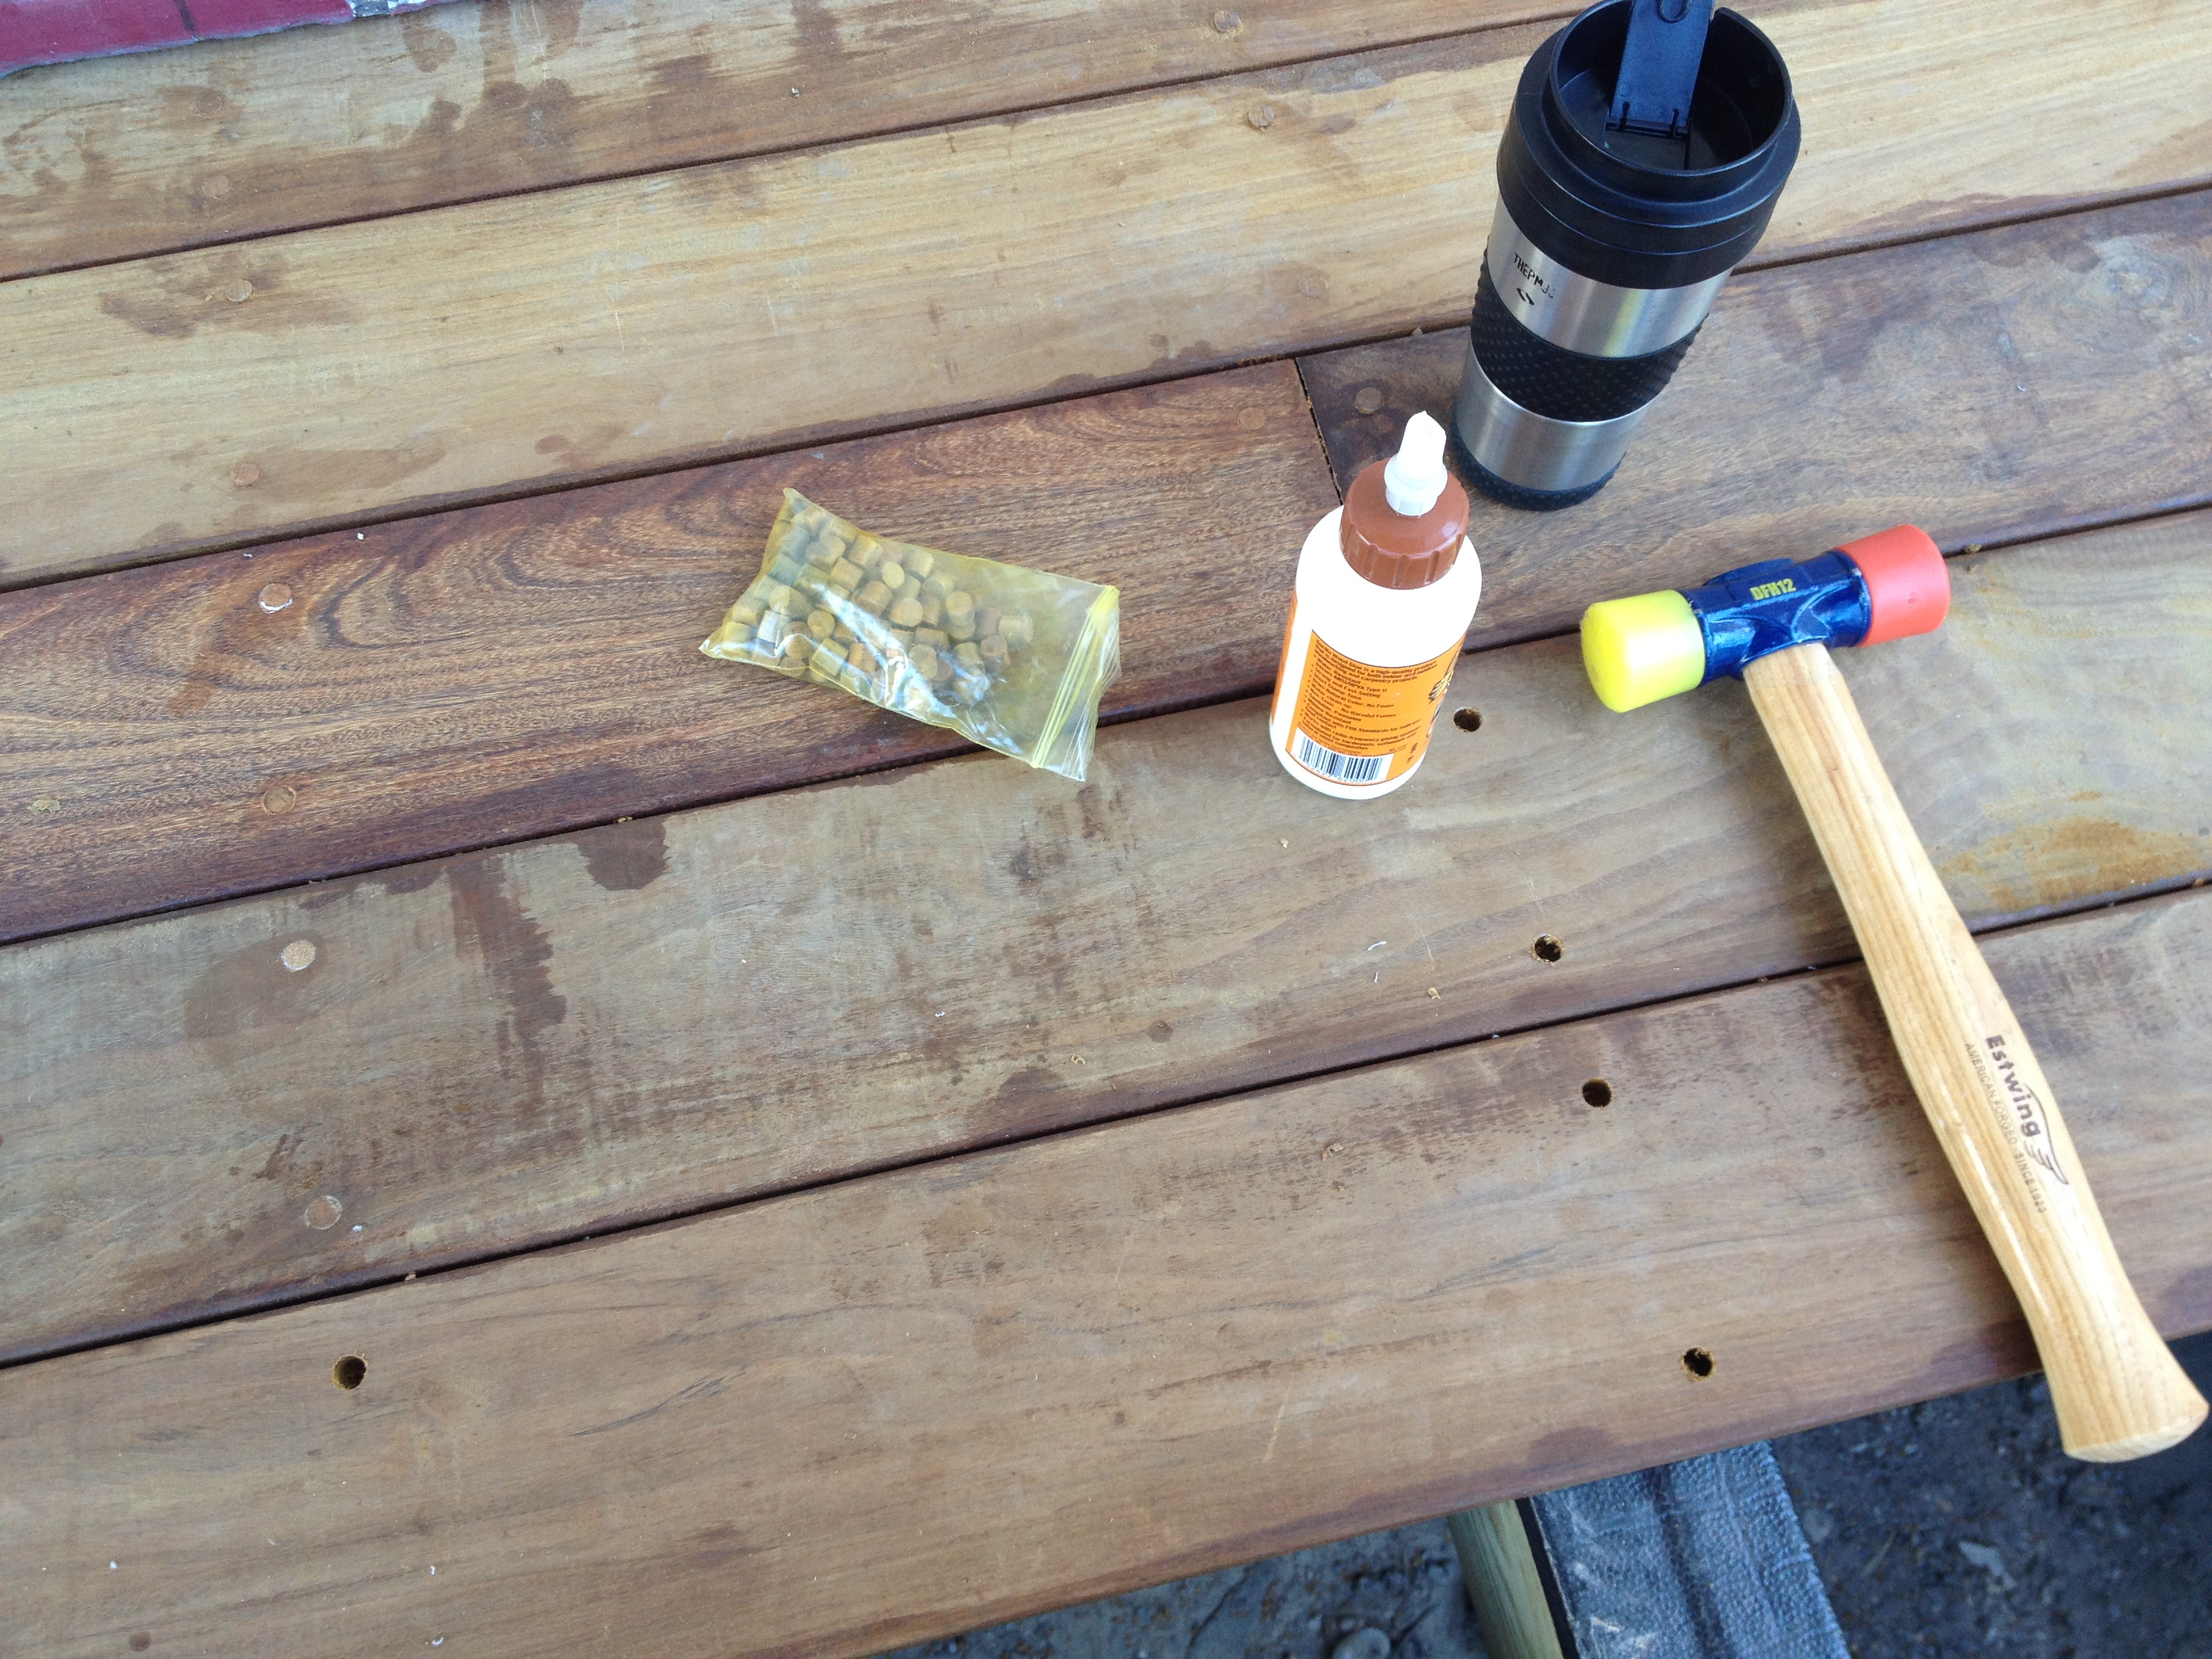
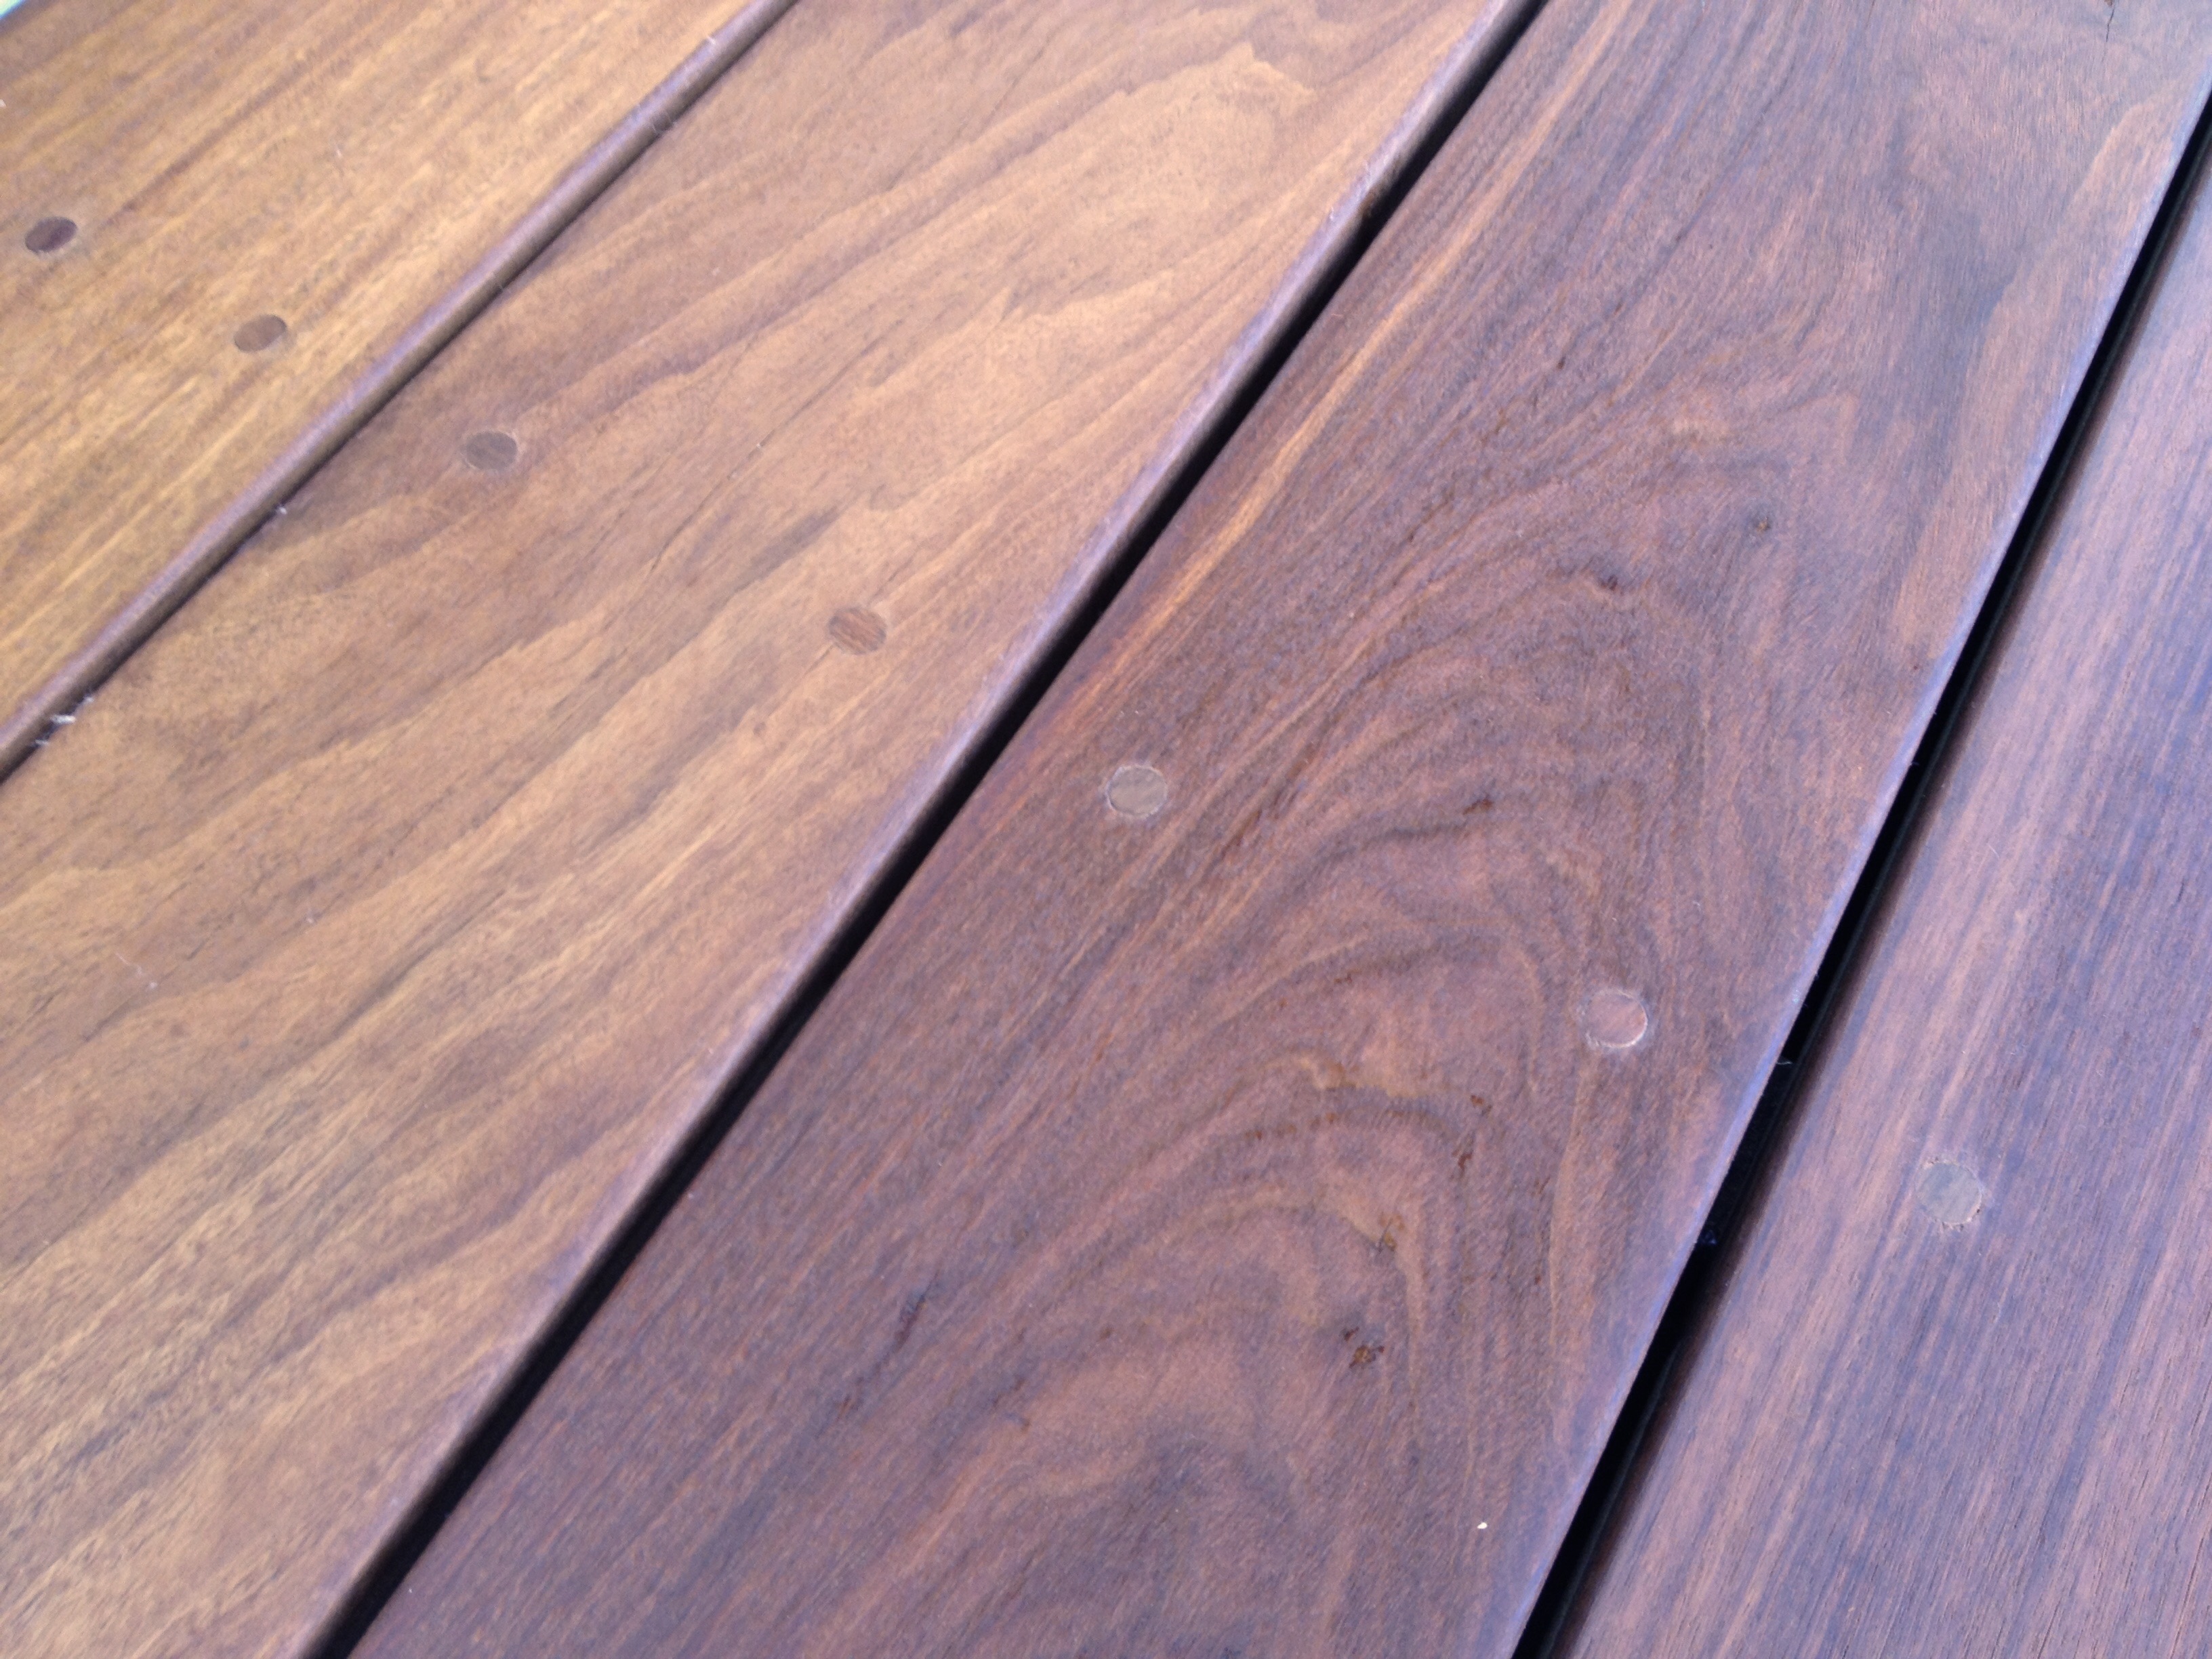
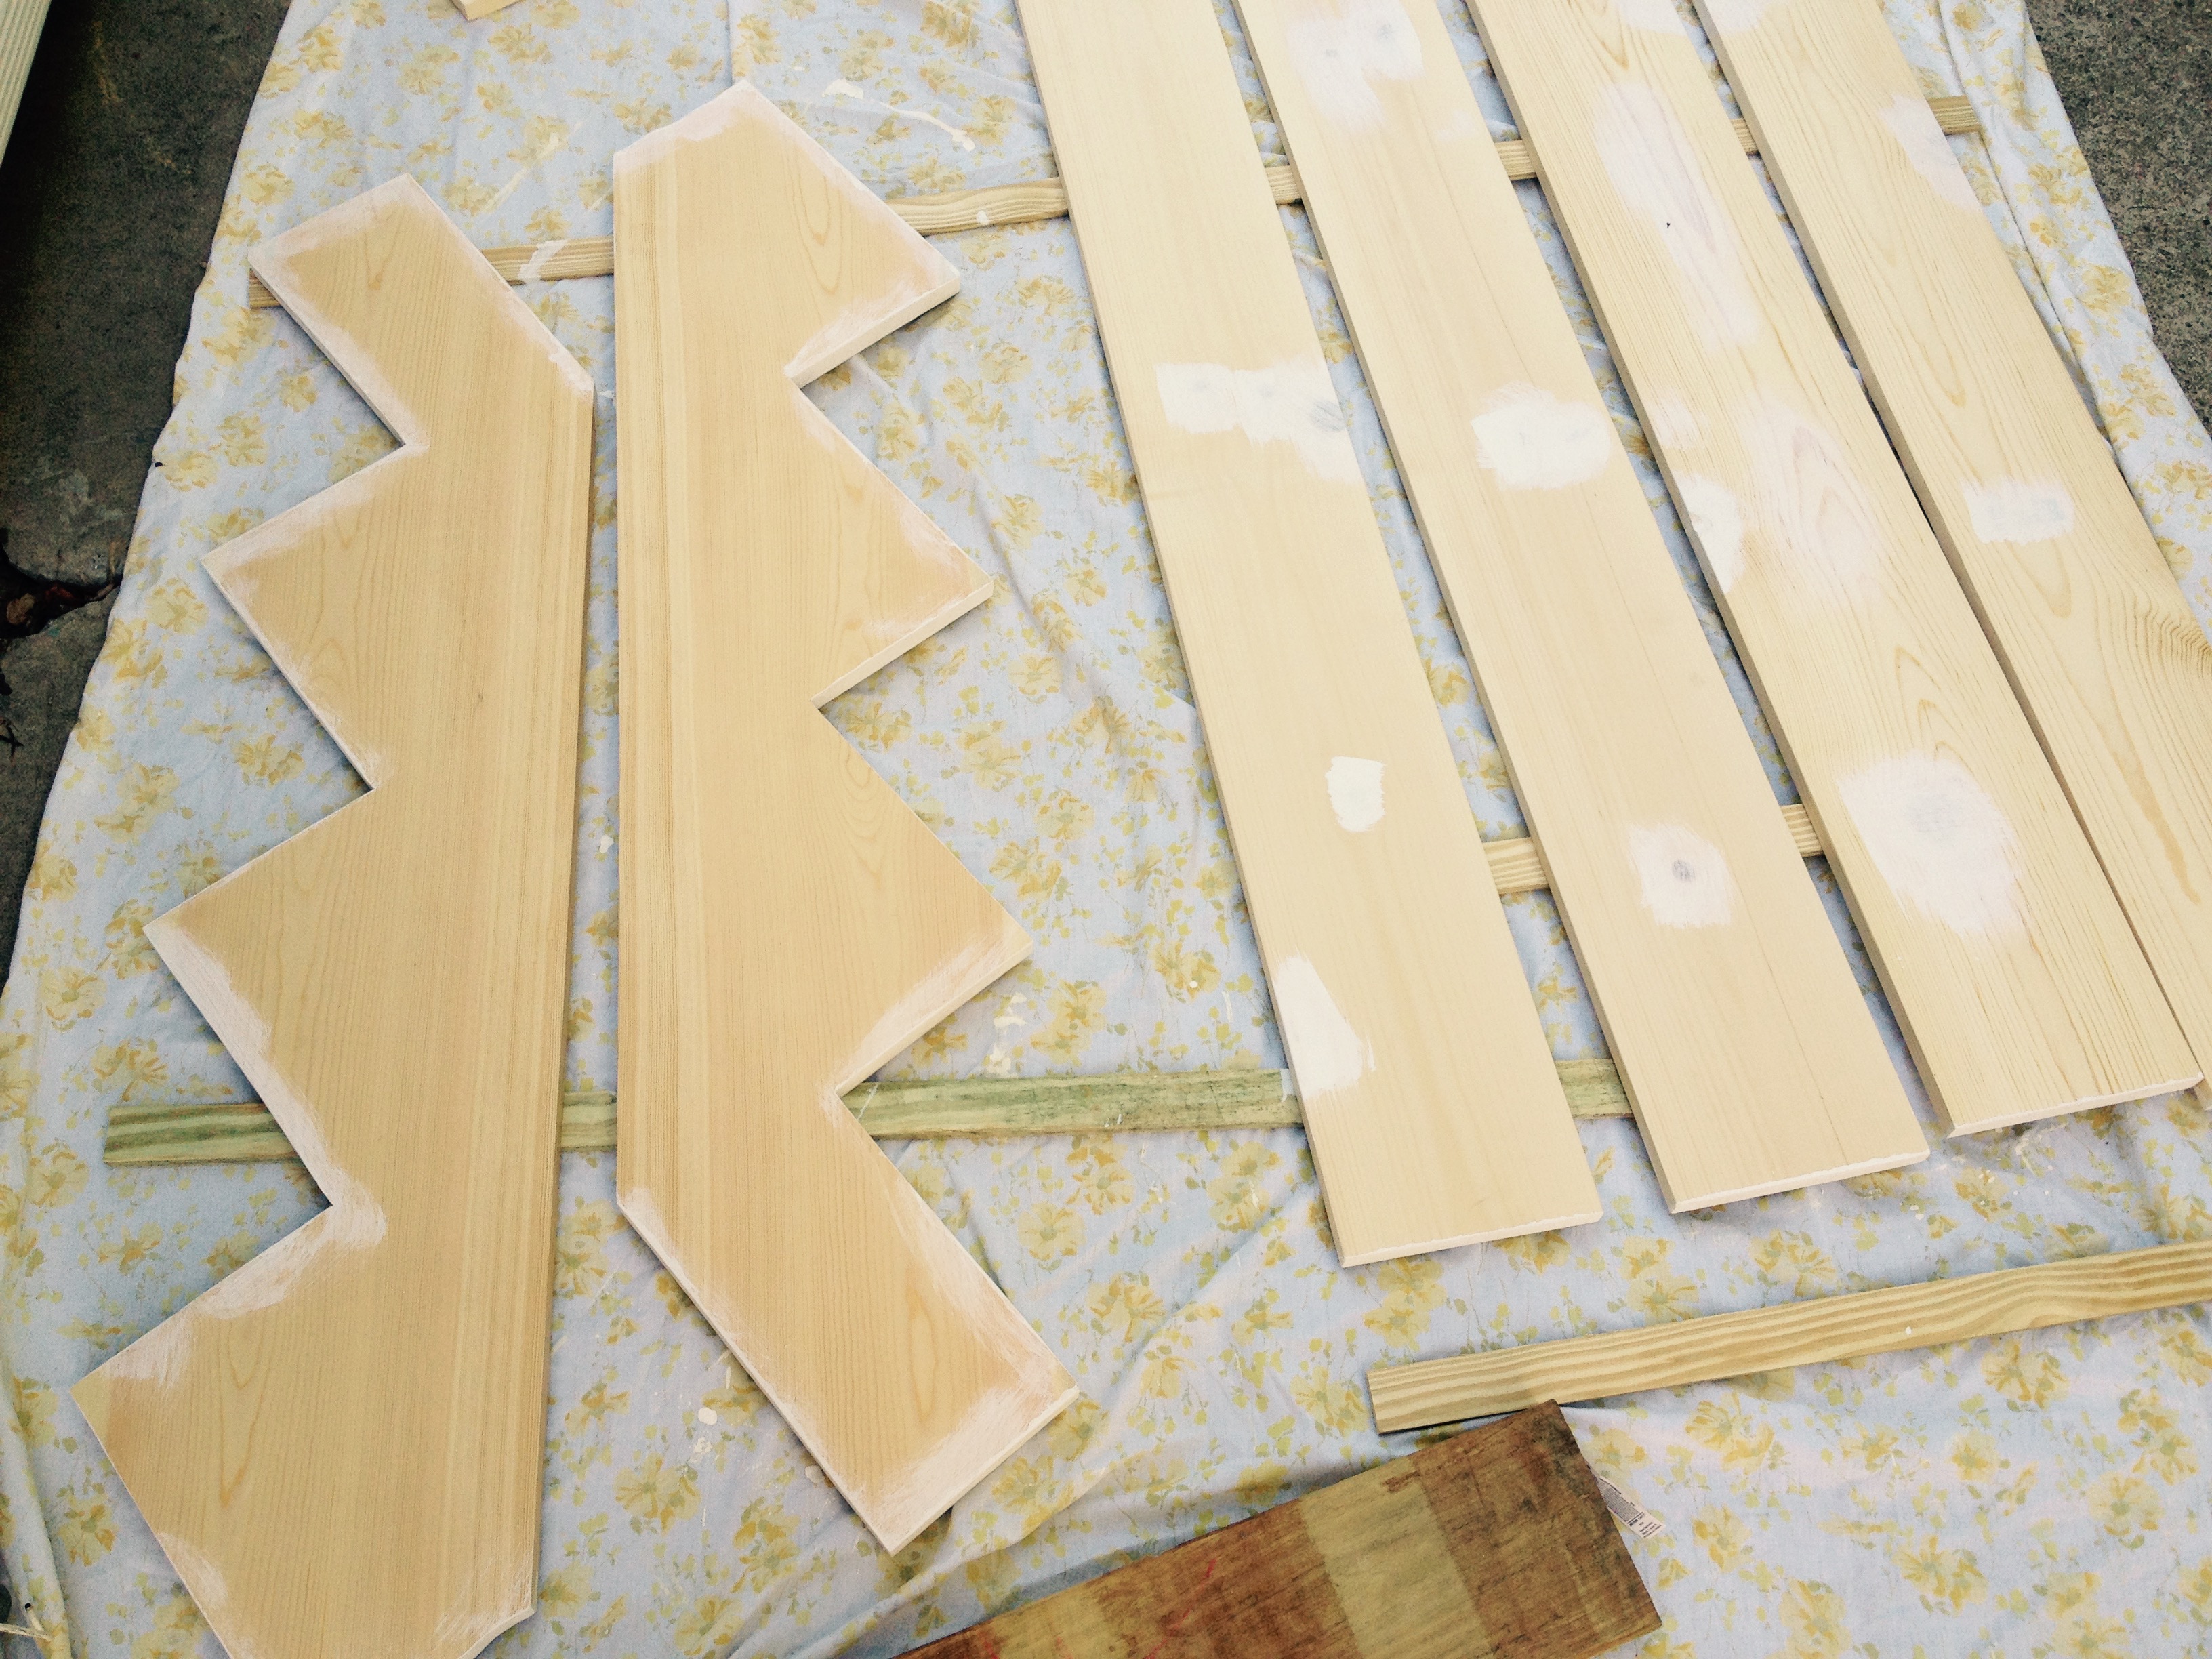
This floor was another labor of love for me. I chose to use over 750 countersunk stainless steel screws with Ipe wood plugs to attach the floor boards. The plugs were glued in, trimmed off with a Japanese pull saw, and sanded flush.
I put an oil finish on what would be the underside of the boards before installation, and the top was finished with the same oil after a light palm sanding. I always try to apply the same finish on all sides of the wood to prevent warping, cupping, and uneven drying. For the trim, I prime all six sides with oil or shellac before installation, usually hitting knots and end grain twice.
Leave a Reply